


Well, here’s something I posted on the German speaking Bernina Blog a couple of weeks ago and since quite a few people asked me for an English version – here goes….
Obviously you can find any number of patterns for fabric baskets online and in various magazines. So I didn’t really re-invent the wheel with my baskets – but… what I actually wanted to show you was how different you can make the same pattern look – depending on your time limits and your mood.
The thing is – I’m getting a new sewing room – or lets put it this way: I’m getting my FIRST sewing room.
In the beginning, my machines stood in my shop, but then the number of fabric shelves grew and I moved into the living room. After just 4 weeks I had to leave, because obviously the quiet humming of my sewing machine disturbed my kids when watching TV and I was relocated into the bedroom.
Unfortunately, I wasn’t allowed to start sewing at 5 a.m. on a Sunday morning when my insomnia got the better of me – go figure.
I didn’t want to move to the attic because that’s where the guest bedroom is located, meaning I already know I’ll be a refugee on a regular basis. I definitely didn’t want to move into the basement (obviously) – because there’s no daylight and terrible creatures with too many legs reside down there. So… I had to wait until one of those kids who still live at home moves out. This happened a couple of weeks ago and I am in a planning frenzy.
161 sqf might not be a lot – but it’s way more than what I have now… plus… it’s supposed to be the most beautiful, practical, cozy and tidy sewing room of all times. It has to have room for 4 sewing machines, a cutting table, storage space for all my tools, rulers, battings, buttons, ribbons and what not – and most of all for my fabrics. If possible I would also like to have a corner with a nice cozy chair and a TV – for those hours when the binding has to be hand-sewn to a quilt. Maybe even a second chair for the husband, so he doesn’t get all that lonely downstairs. There are many things to consider, daylight lamps, a high cutting table, closed storage for things that don’t look all that decorative, room on my walls for mini quilts and pattern drafts, maybe even a luxury sewing table with a motor attached to it, so I can raise or lower my machine when free motion quilting or sewing other things.
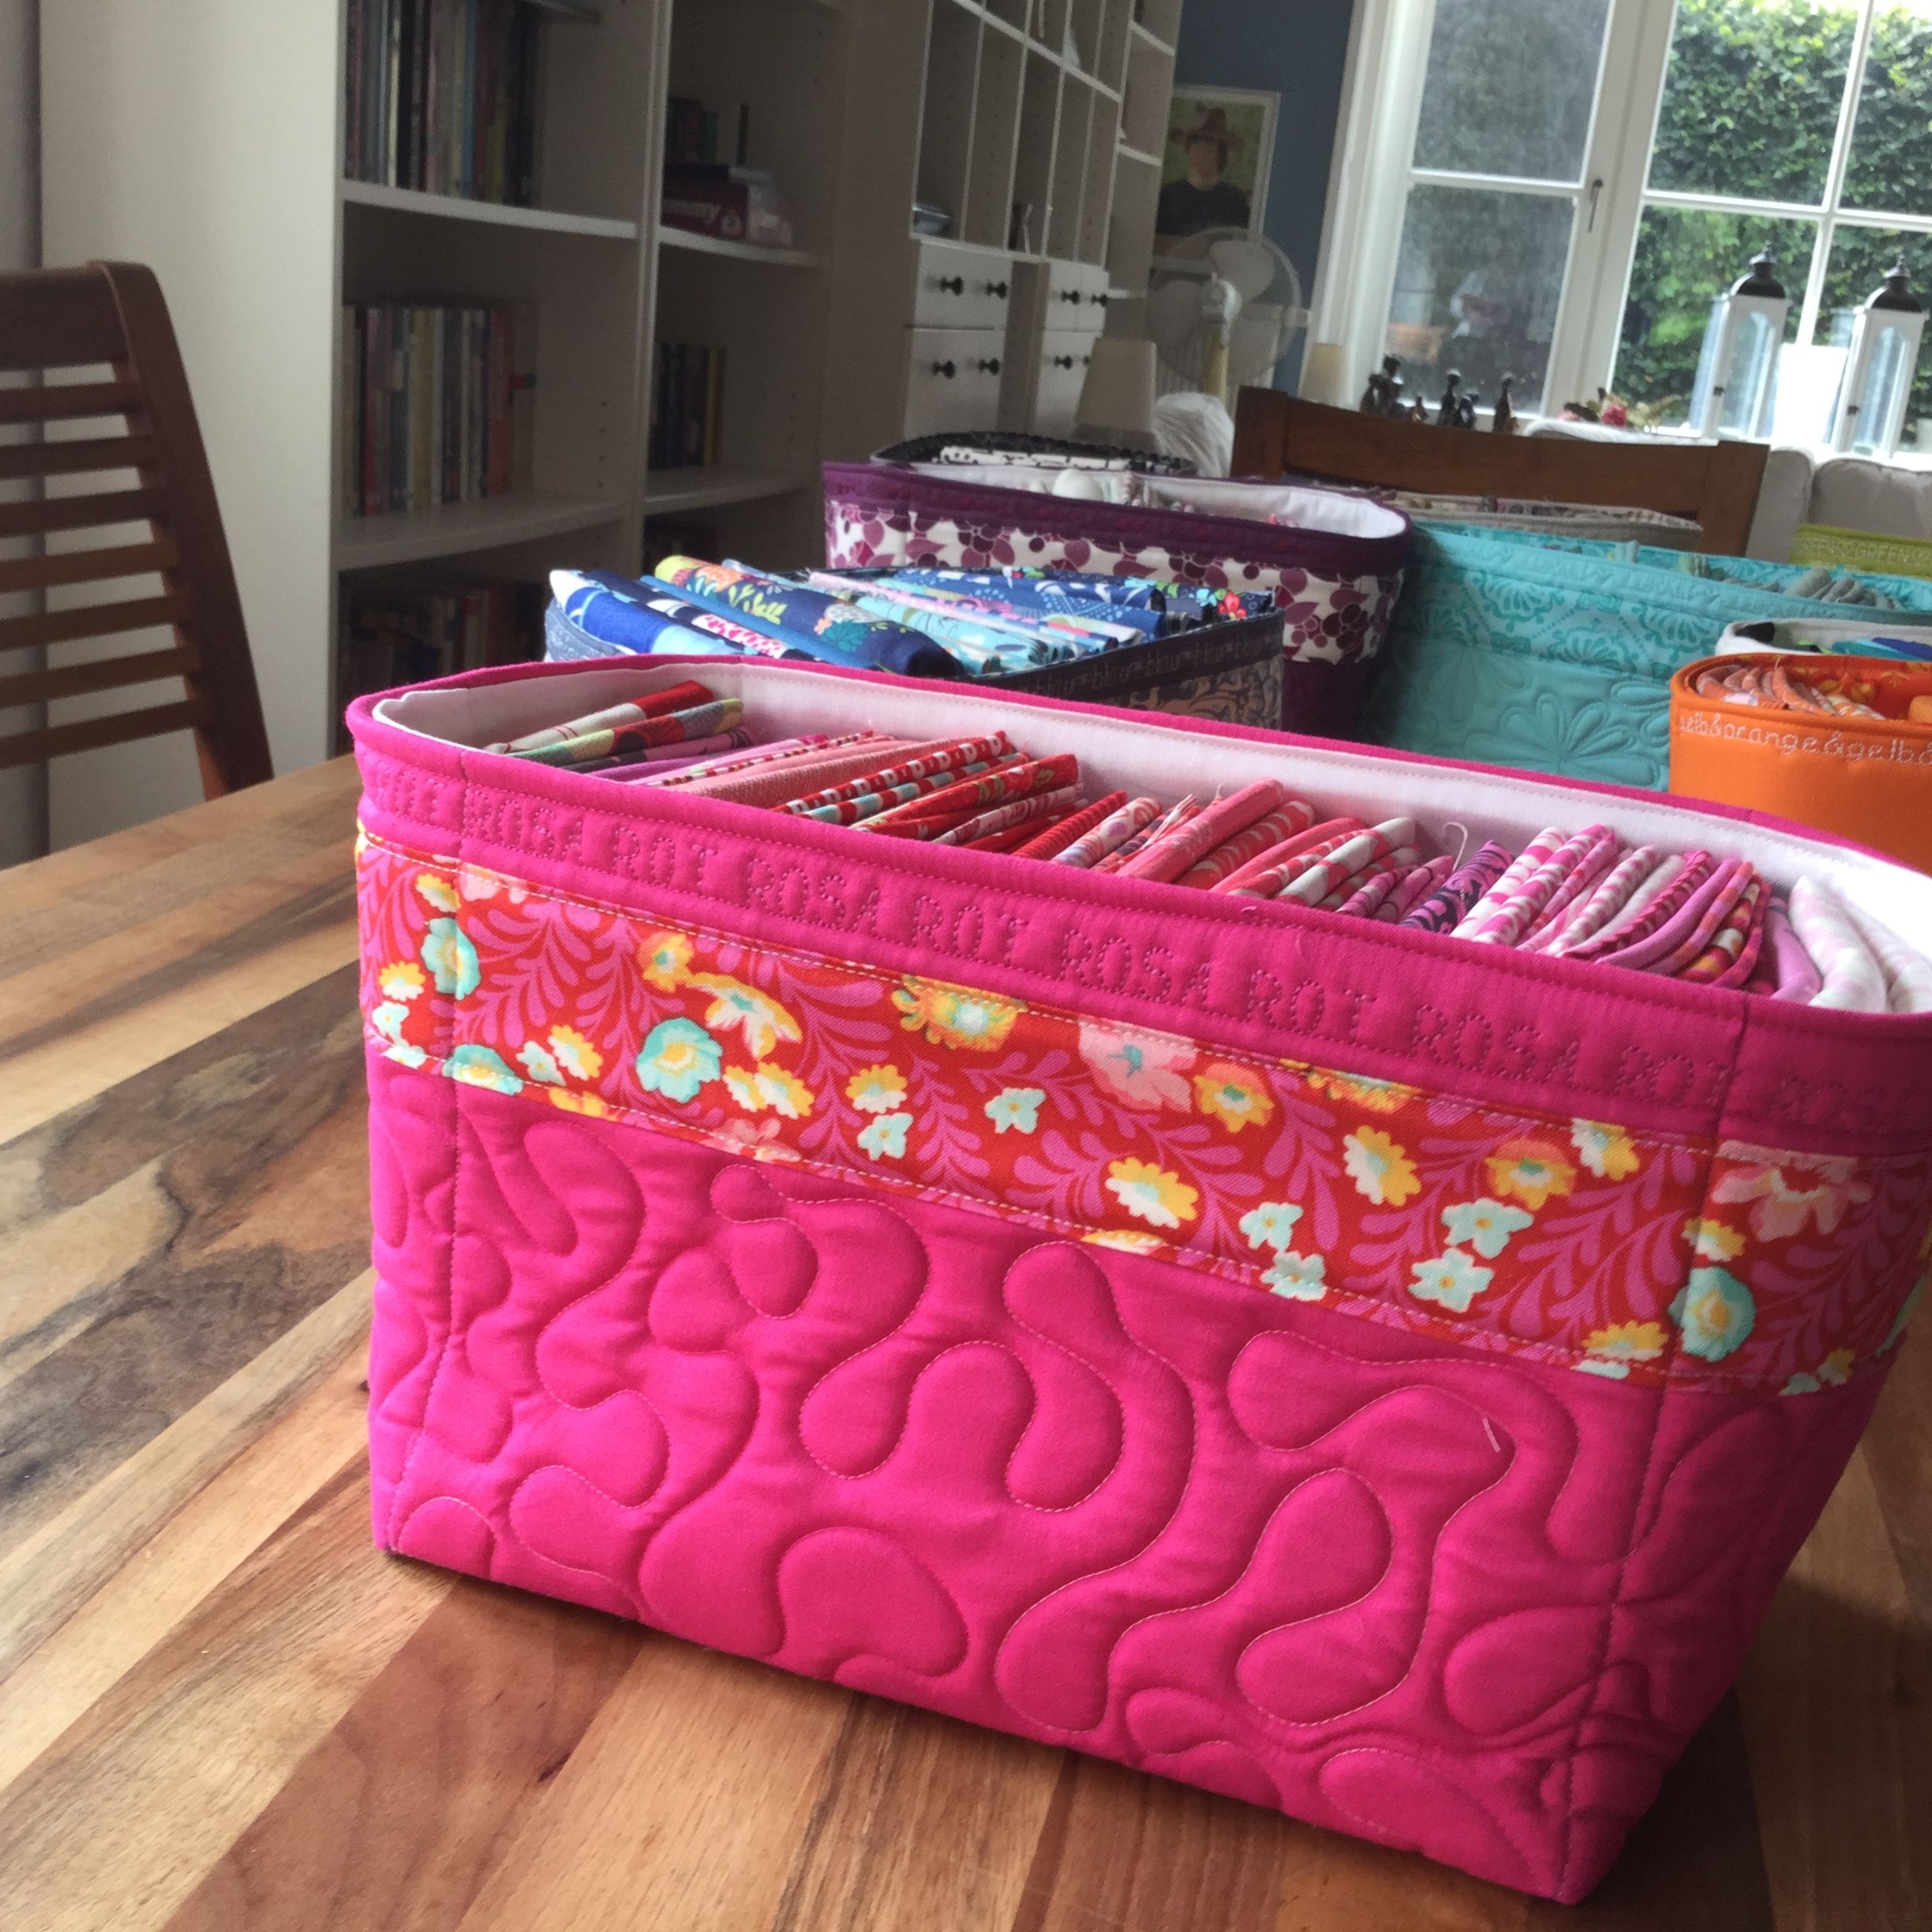
And of course – there needs to be proper storage for my favorite stash. My fabrics live in some kind of 3-class-society. There are the basics, the uni-colors, those fabrics you always need – and yes, you like them.
There are the fabrics that are quite nice and they will find there way into the back of a quilt or the lining of a purse or basket. And there are my treasures, those fabrics where every last scrap is saved and that I want to be able to look at every day.
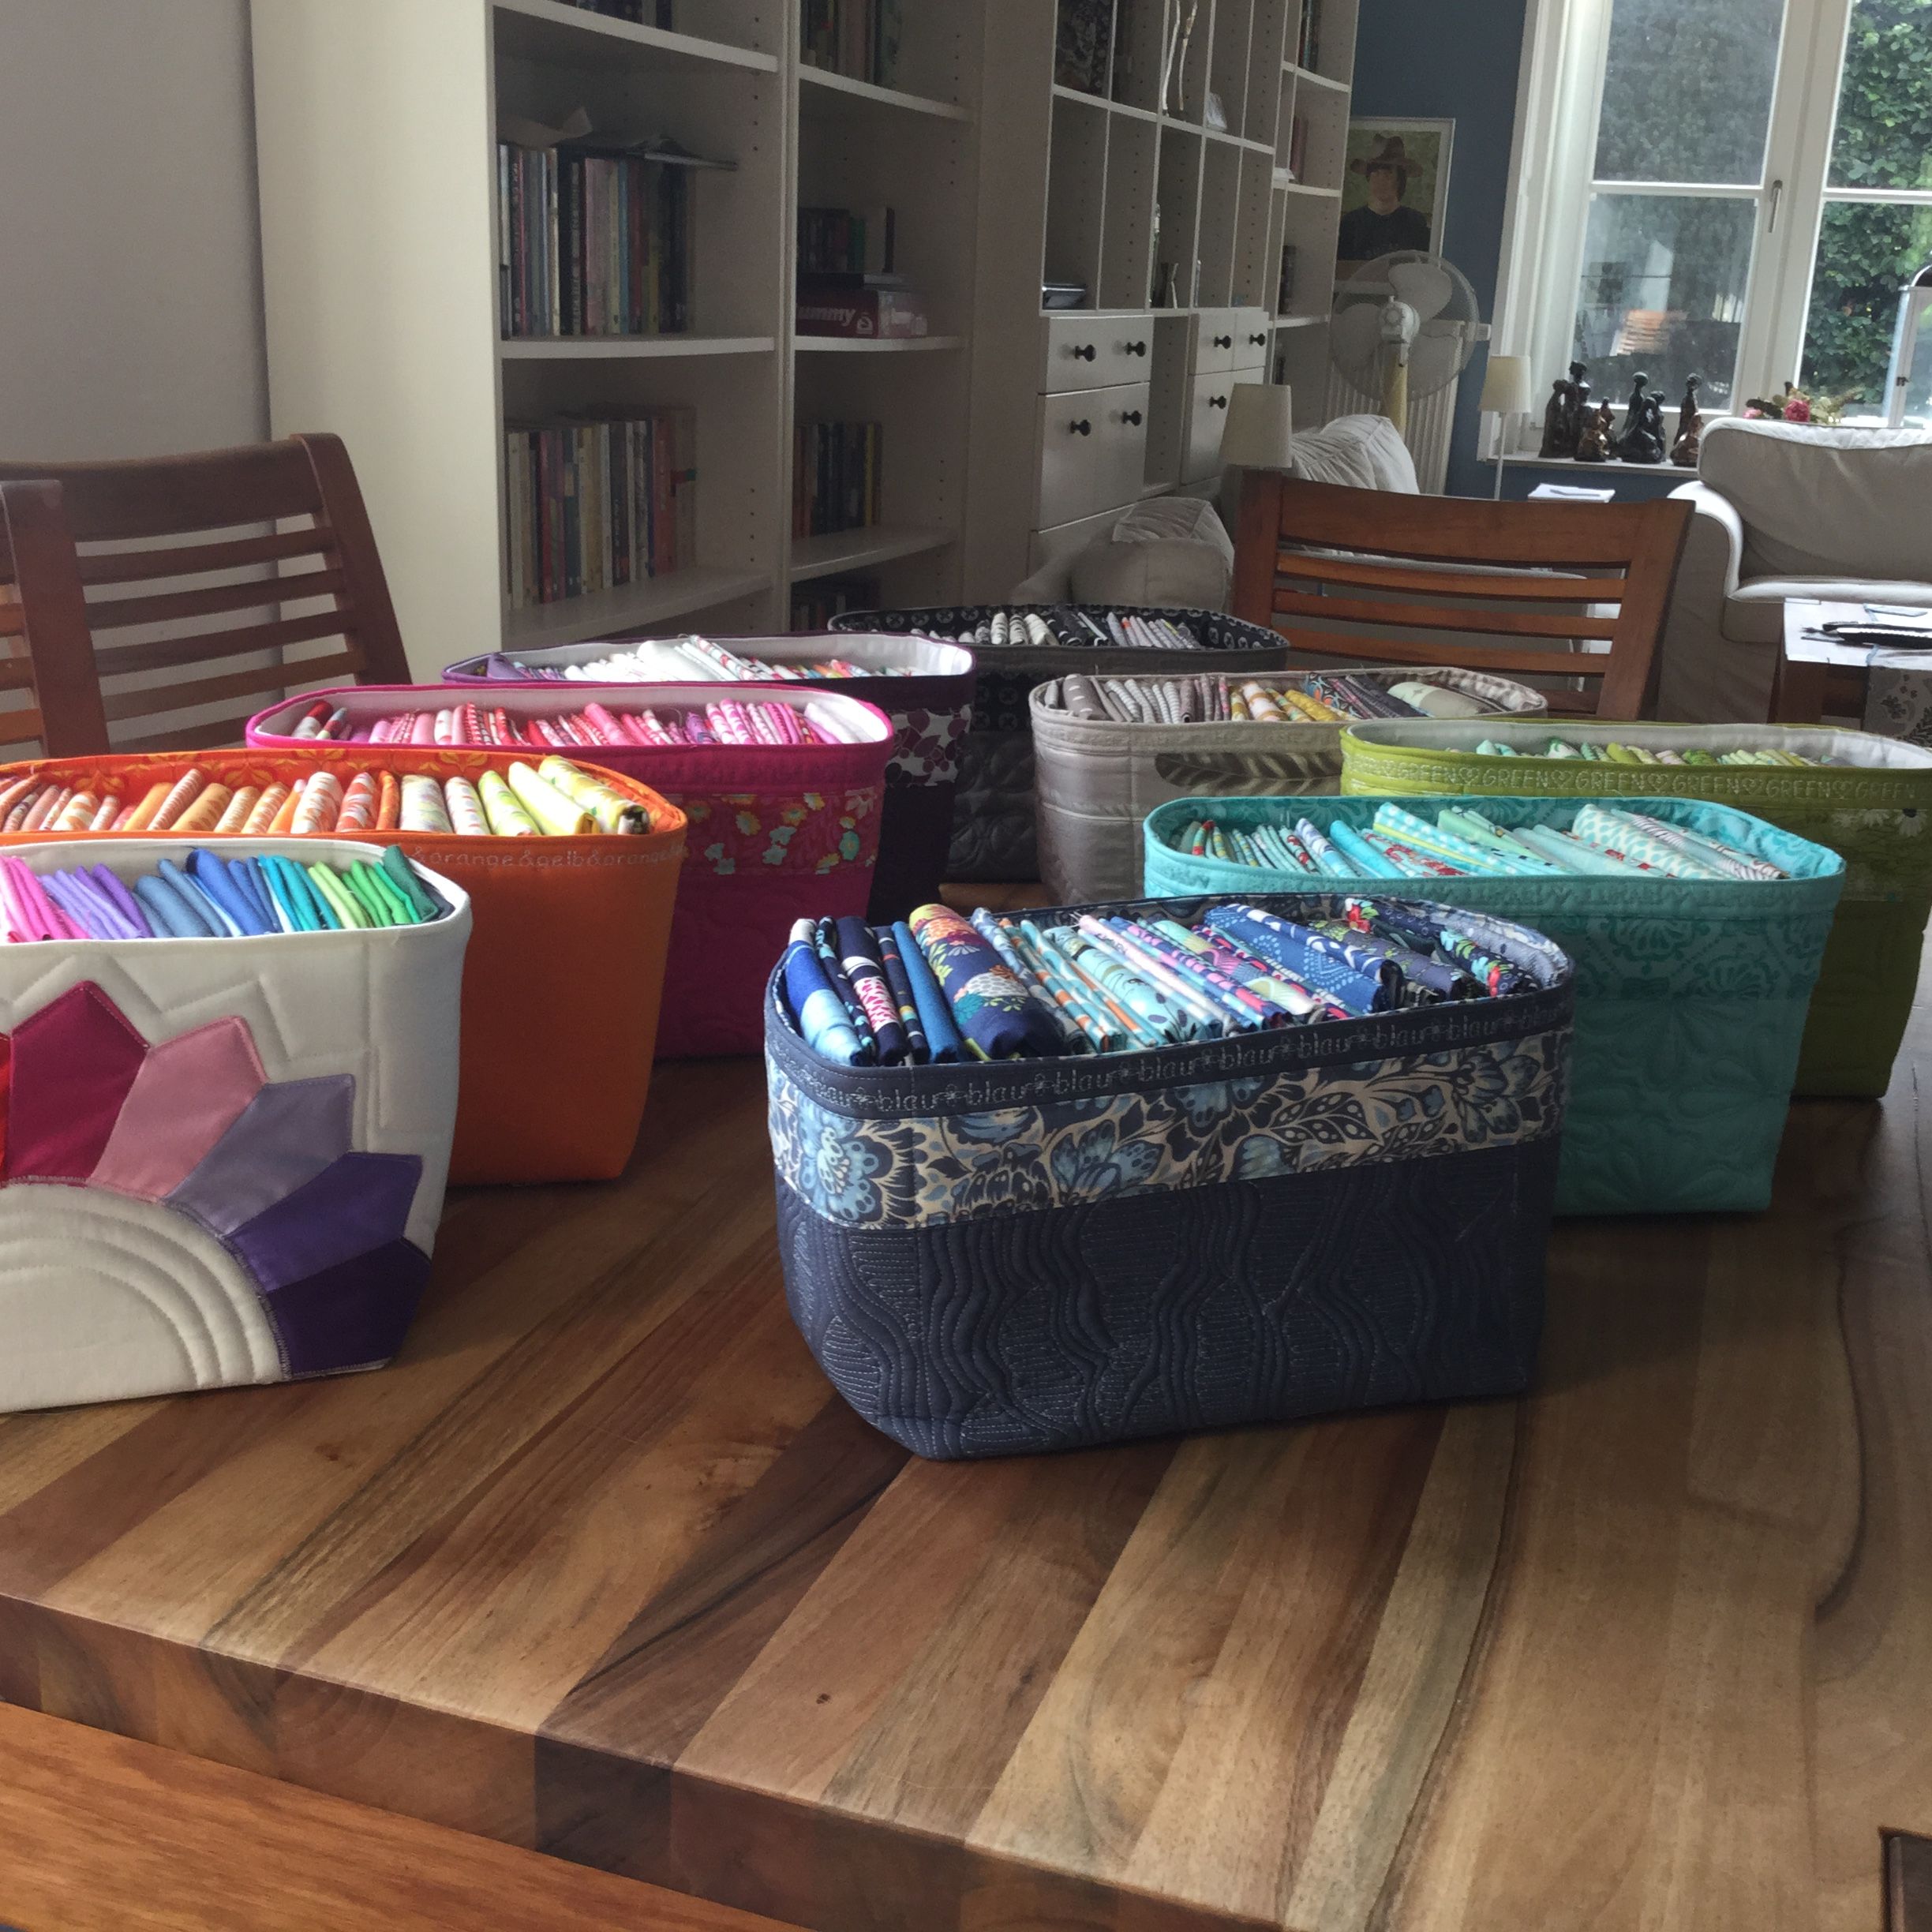
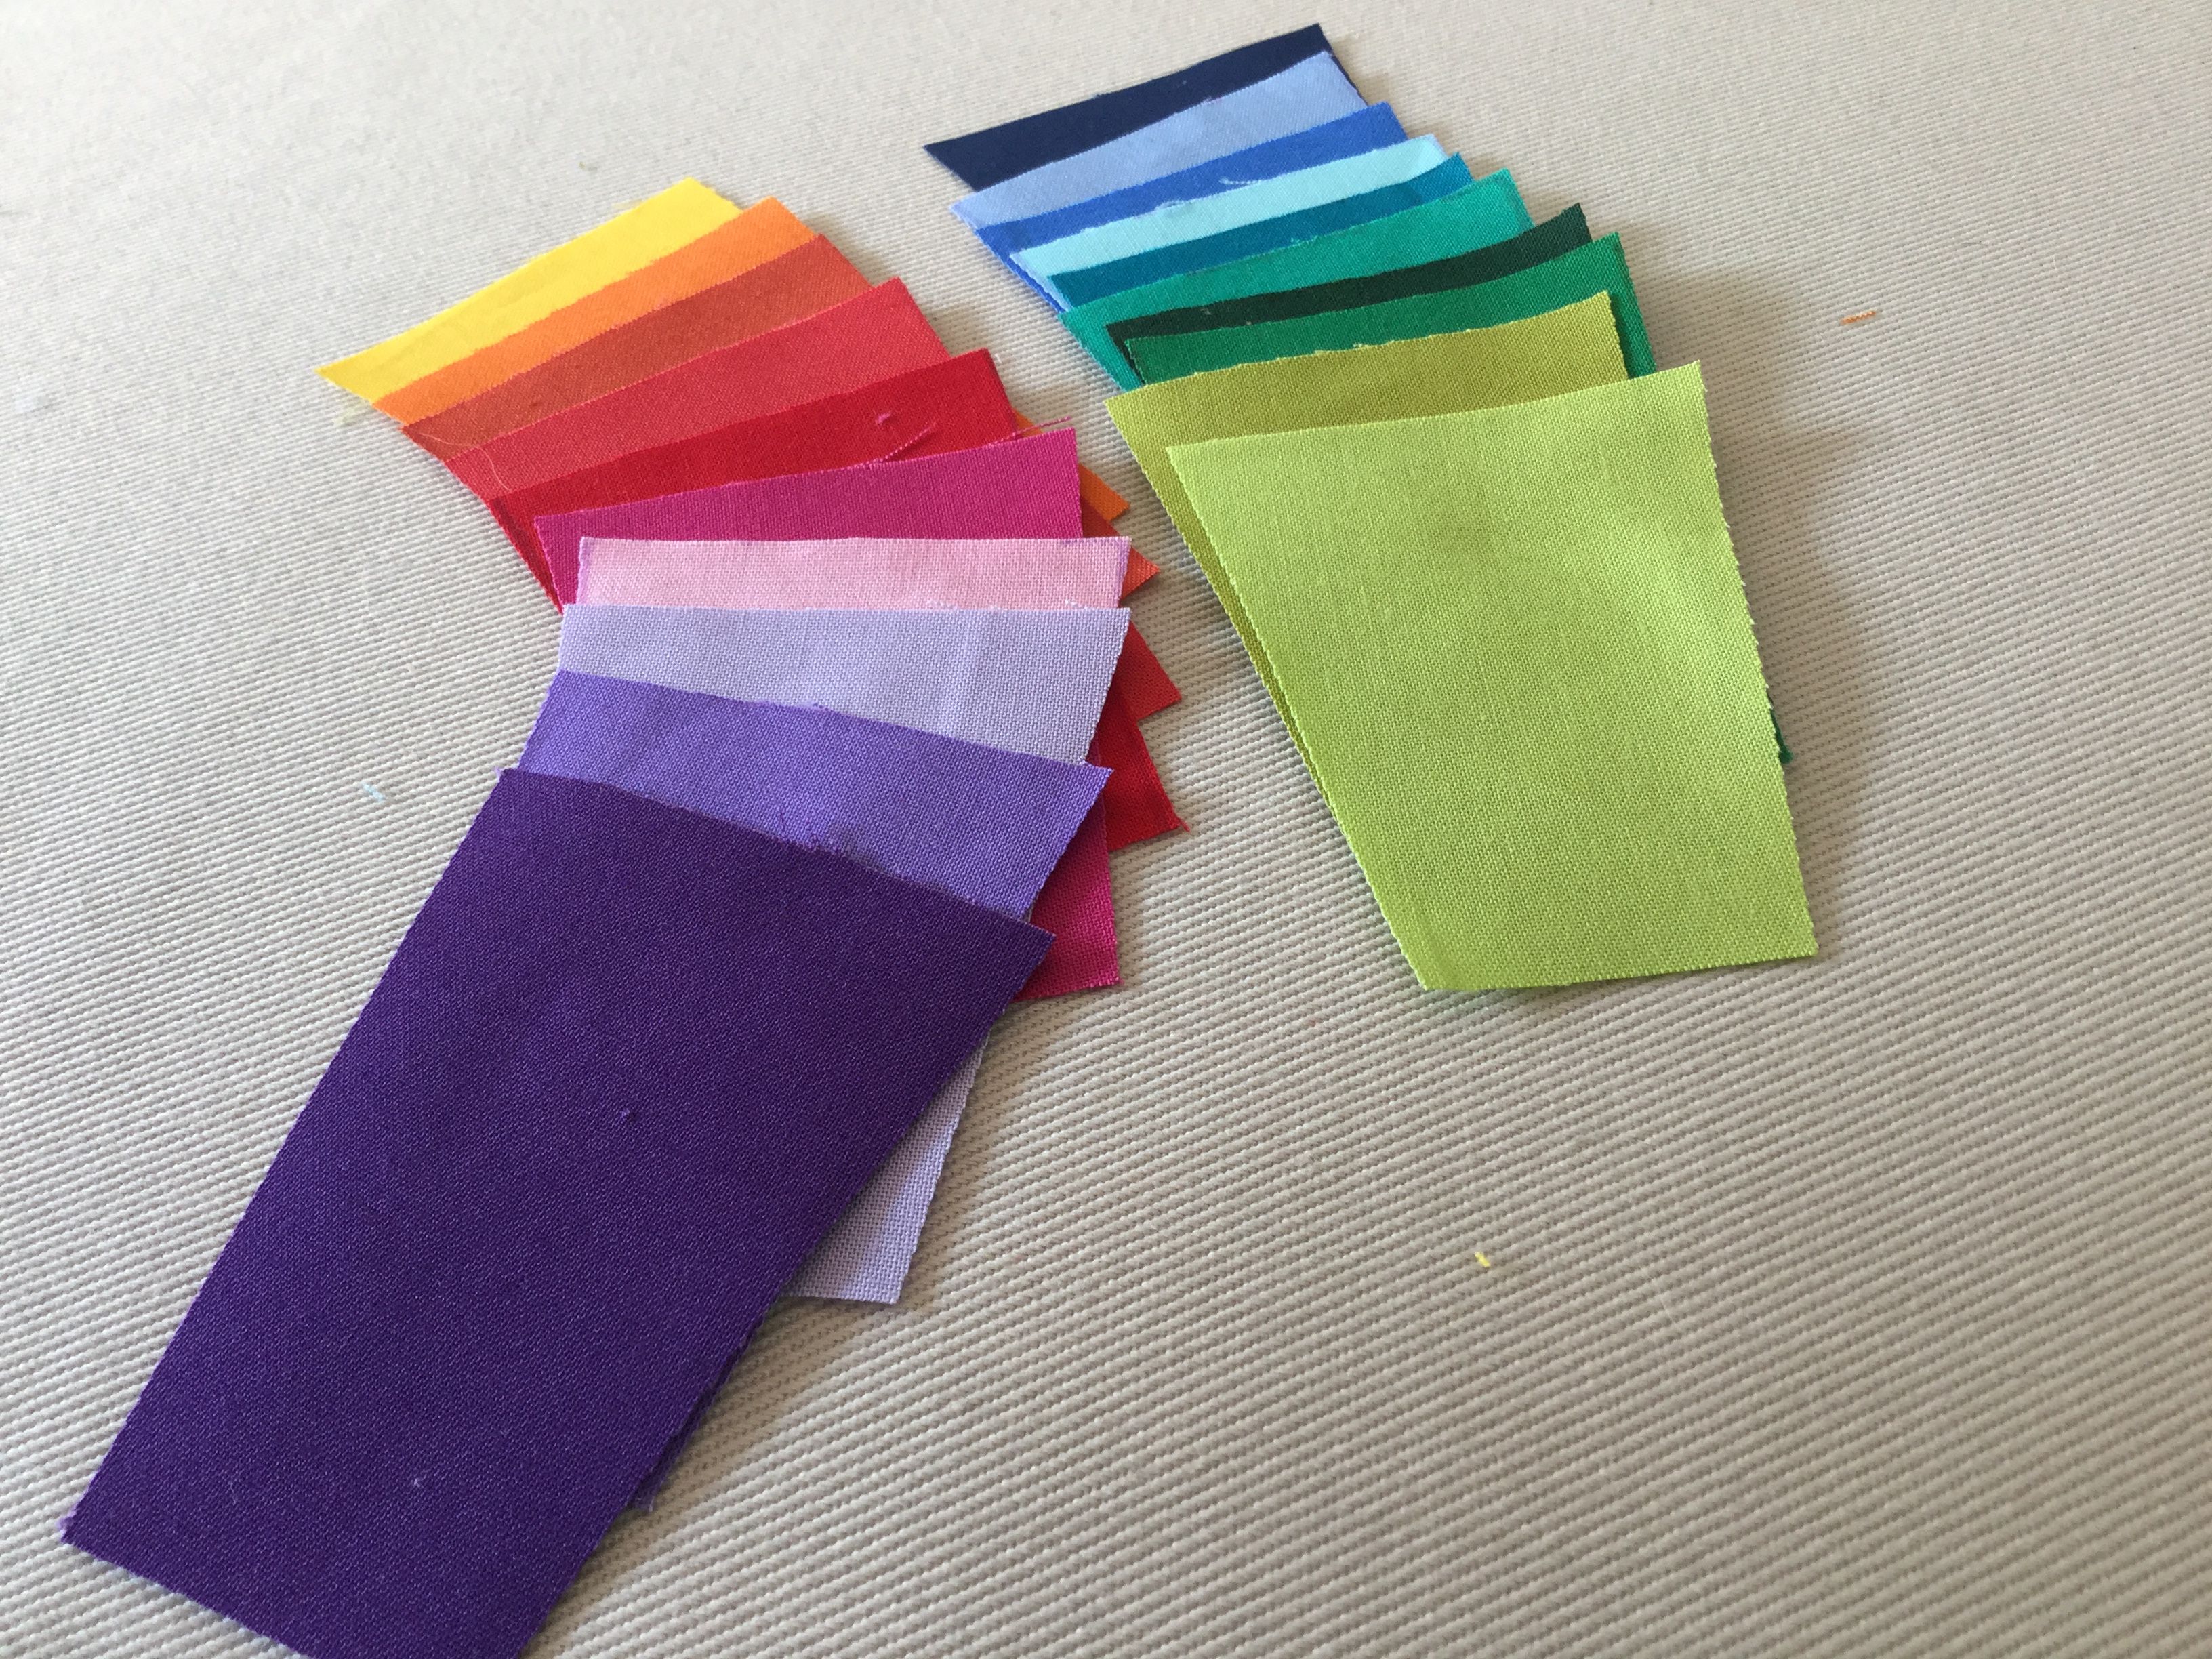
Plastic boxes might be practical and you can stack them one on top of the other – but they aren’t all that pretty and frankly – just not the appropriate home for my favorite fabrics. So I decided to sew some baskets – one for every color family. The size was clear, they should be able to house folded fabrics of approx. 5″ x 5″ – which is the size that I fold my fat quarters for the shop.
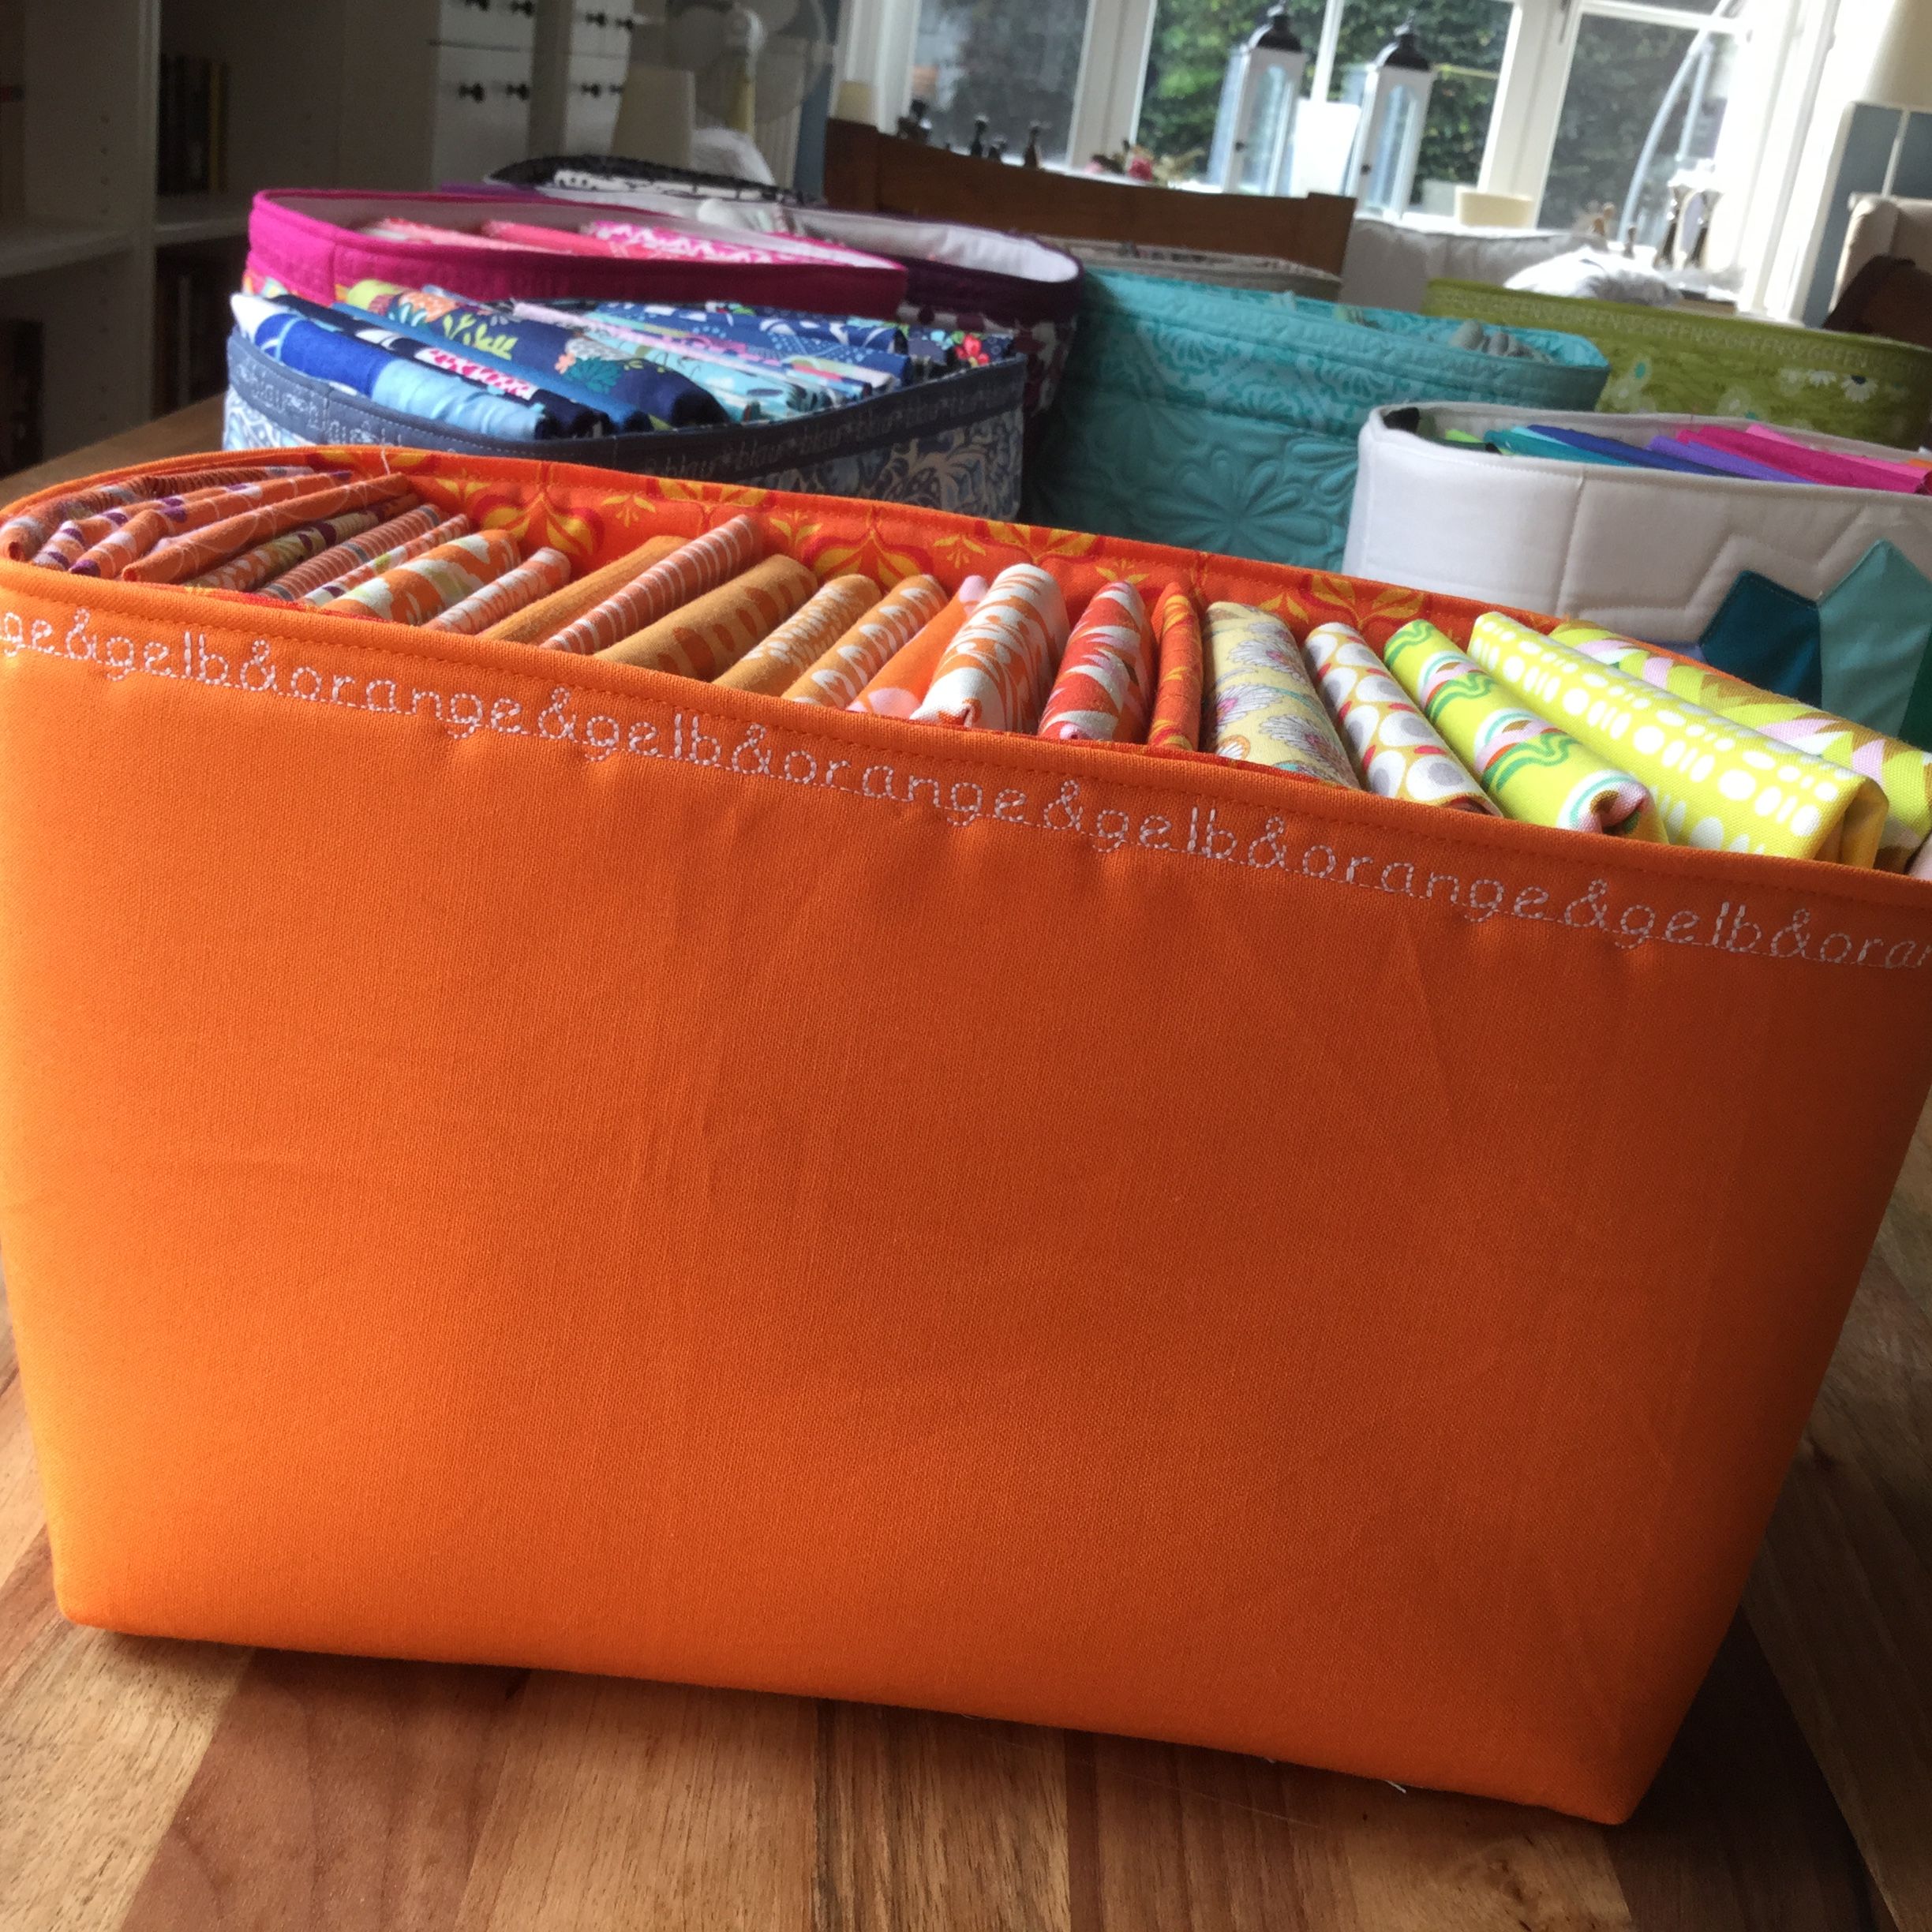
The simplest version can be cut and sewn in 20 minutes…
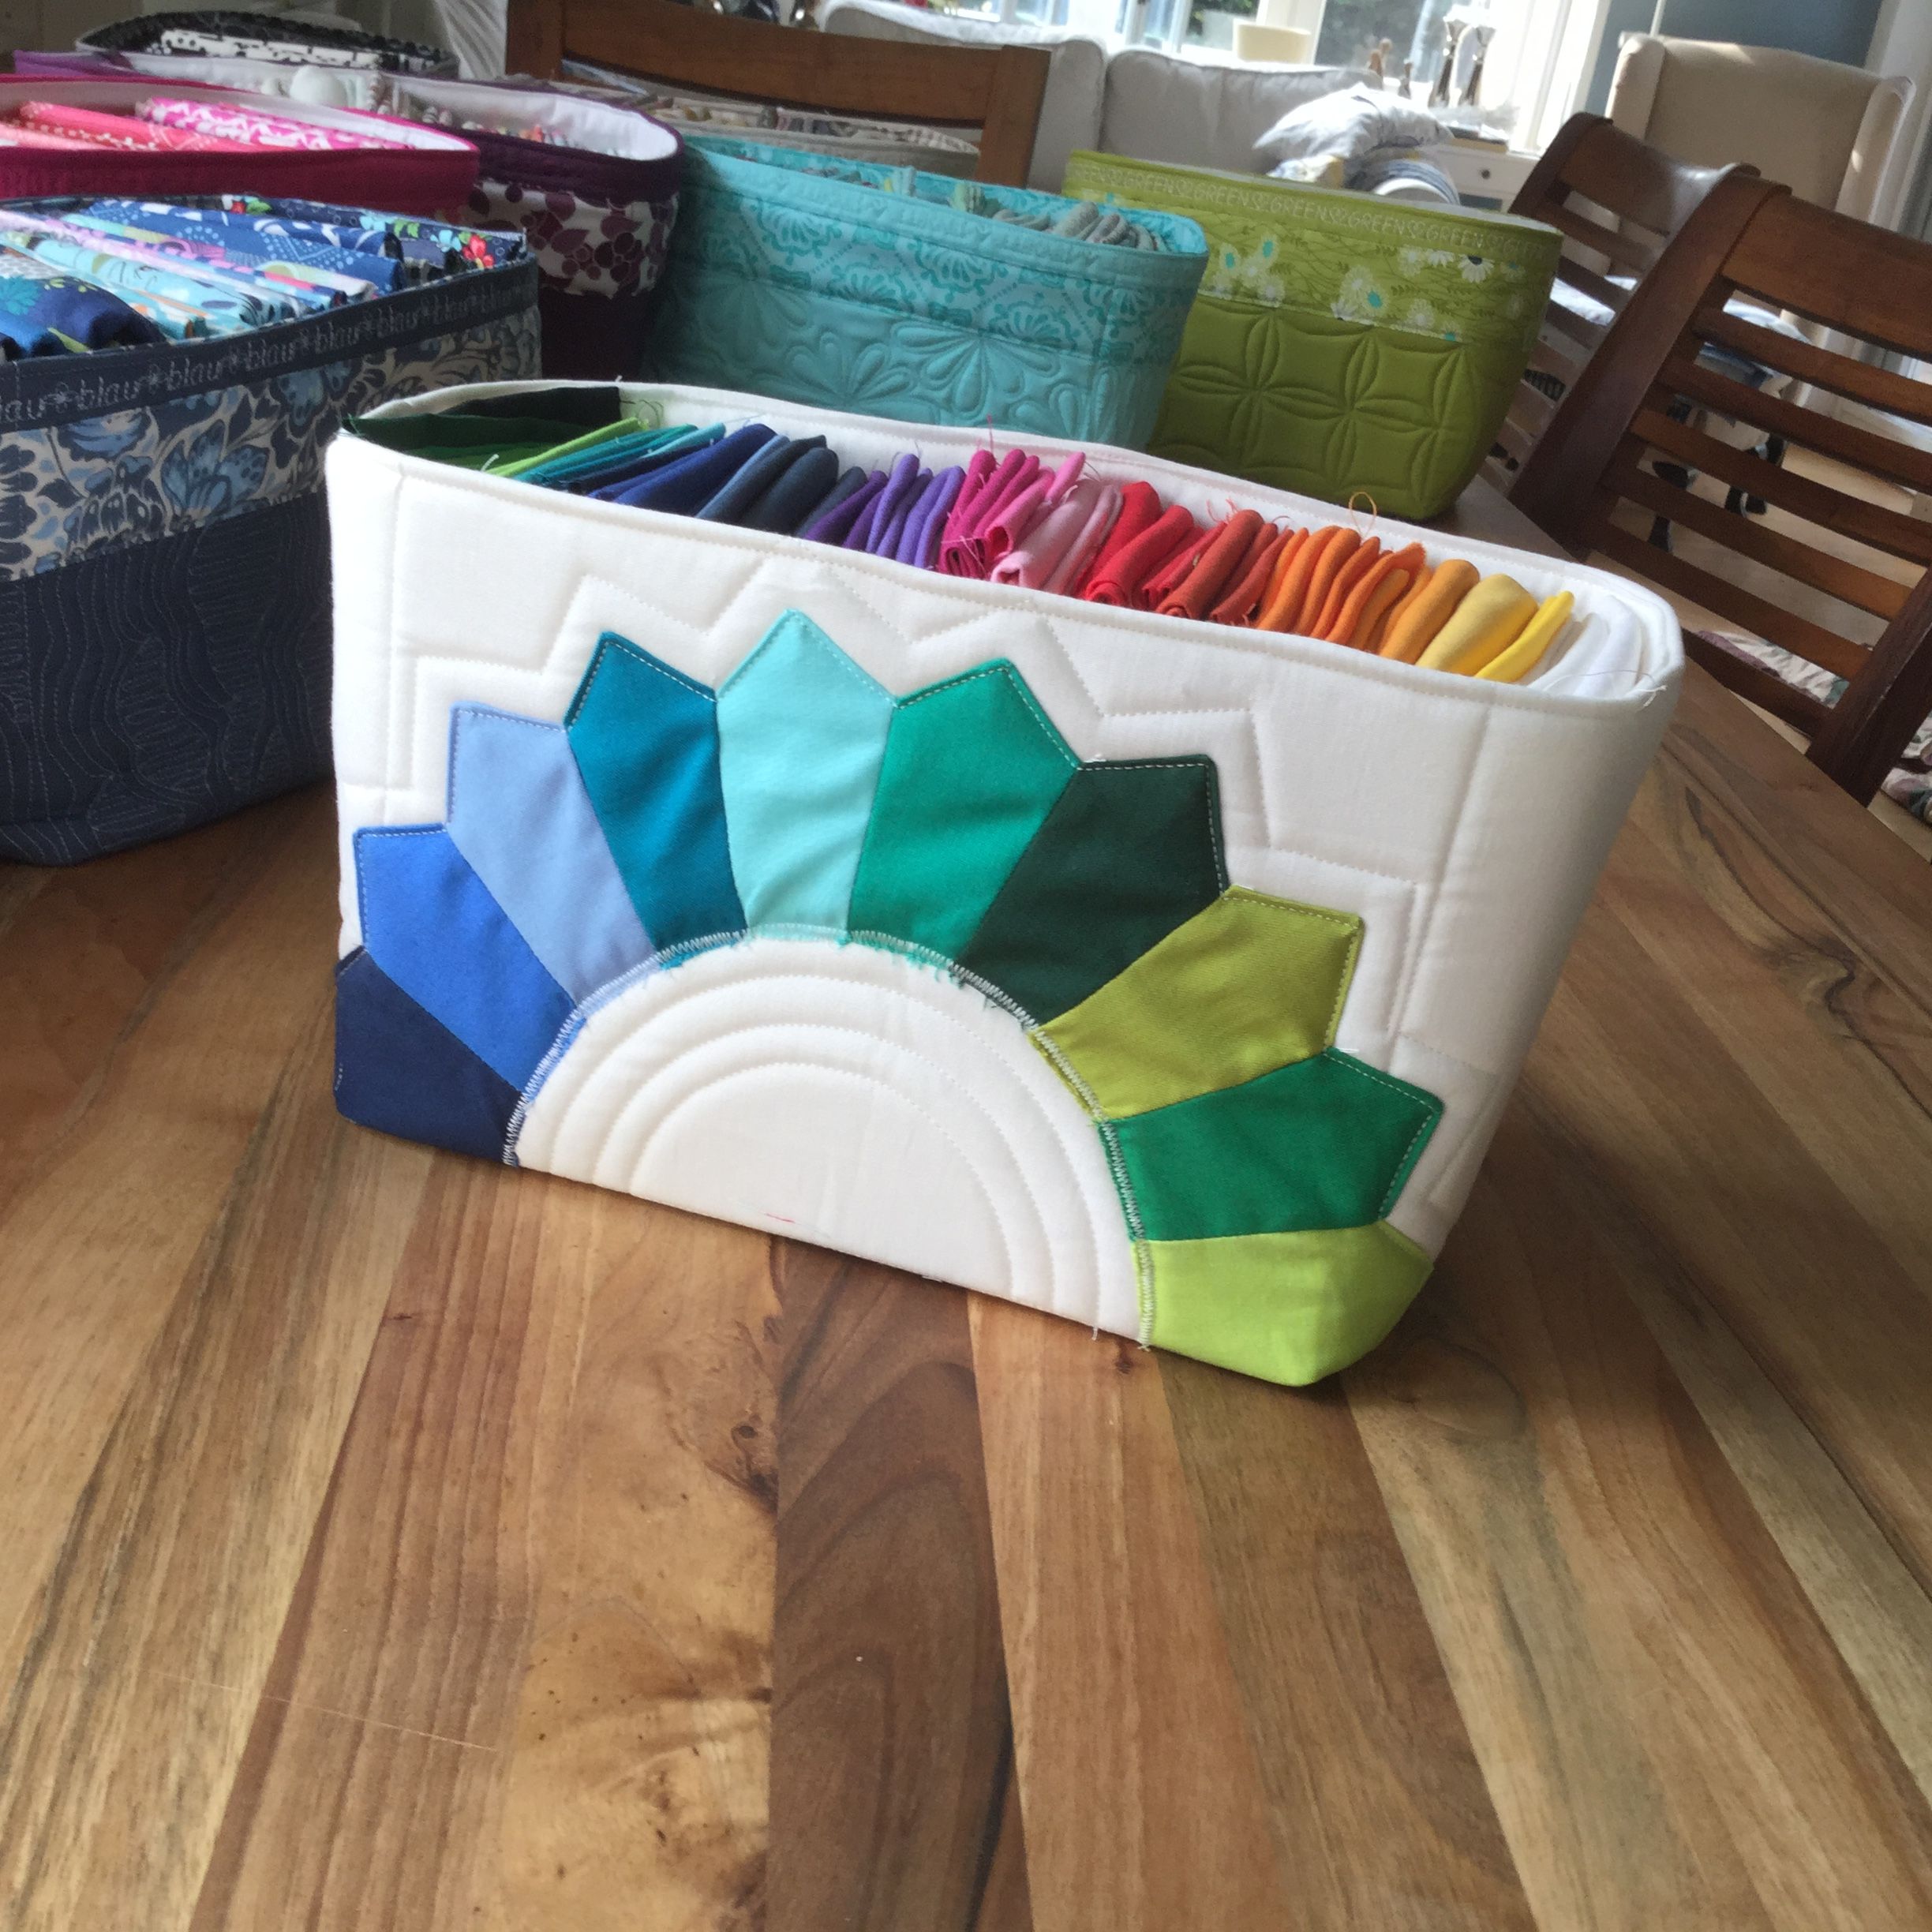
…. the more intricate one with the half Dresden Plate will take 2 – 3 hours.
Sewing Instructions and Pattern Sheet
I’ll explain how to do the basket with the Dresden Plate, but the pattern size is the same for all of the baskets – you can download them here:
Material:
Main Fabric : 2 off 10 1/4″ x 16 1/8″
Lining: 2 off 10 1/4″ x 16 1/8″
For the basket with the Dresden Plate: 20 different scraps approx 4″ x 4″
For the baskets with the accent fabric strips: 2 strips 2 1/2″ x 16 1/8″
Batting: 2 off Soft & Stable 12″ x 18″
Matching Thread
Cut:
Cut the main fabric and the lining fabric as shown on the pattern sheet (don’t cut the batting yet!)
Sewing:
Put lining pieces right sides together and stitch the side and bottom seams with a scant 1/2″ seam allowance. Iron the seam allowances open, then center the bottom seams on the side seams and stitch together with a scant 1/2″ seam allowance. Turn the lining bag right side out, then iron the top edge 1/2″ to the inside. Put lining aside.
Now put the main fabric pieces on the batting, right side up and pin in place with a few needles.
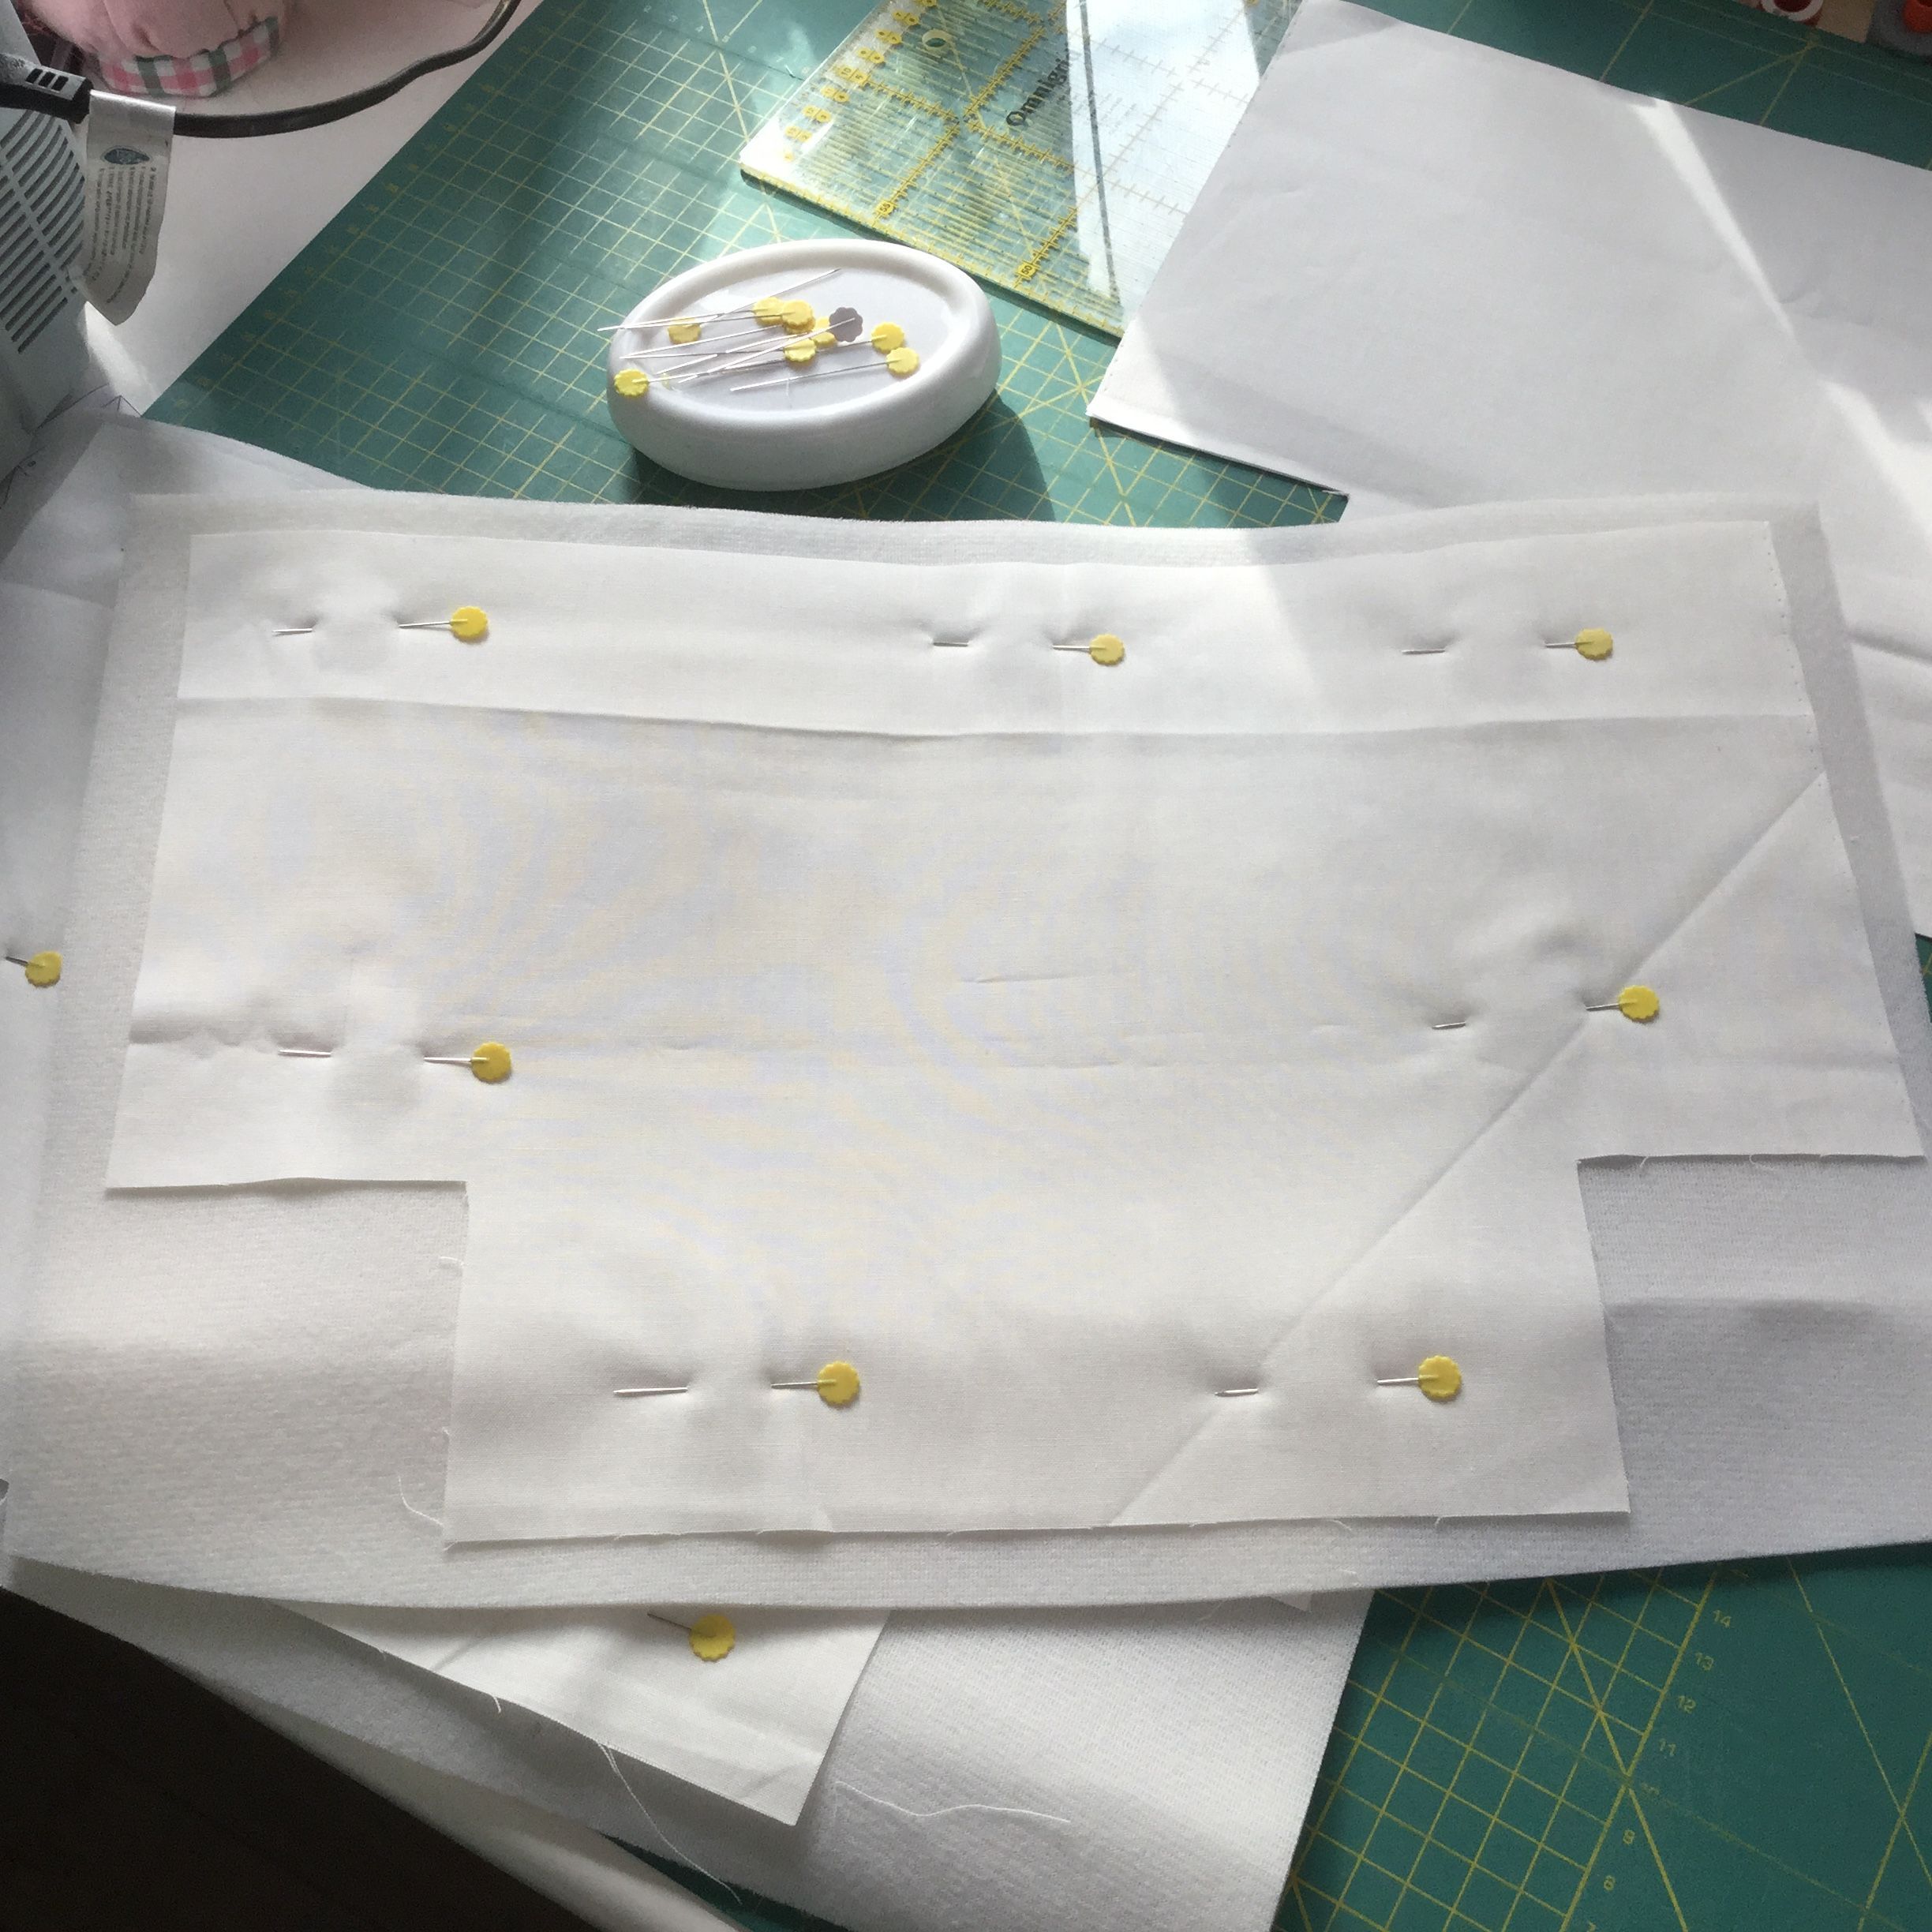
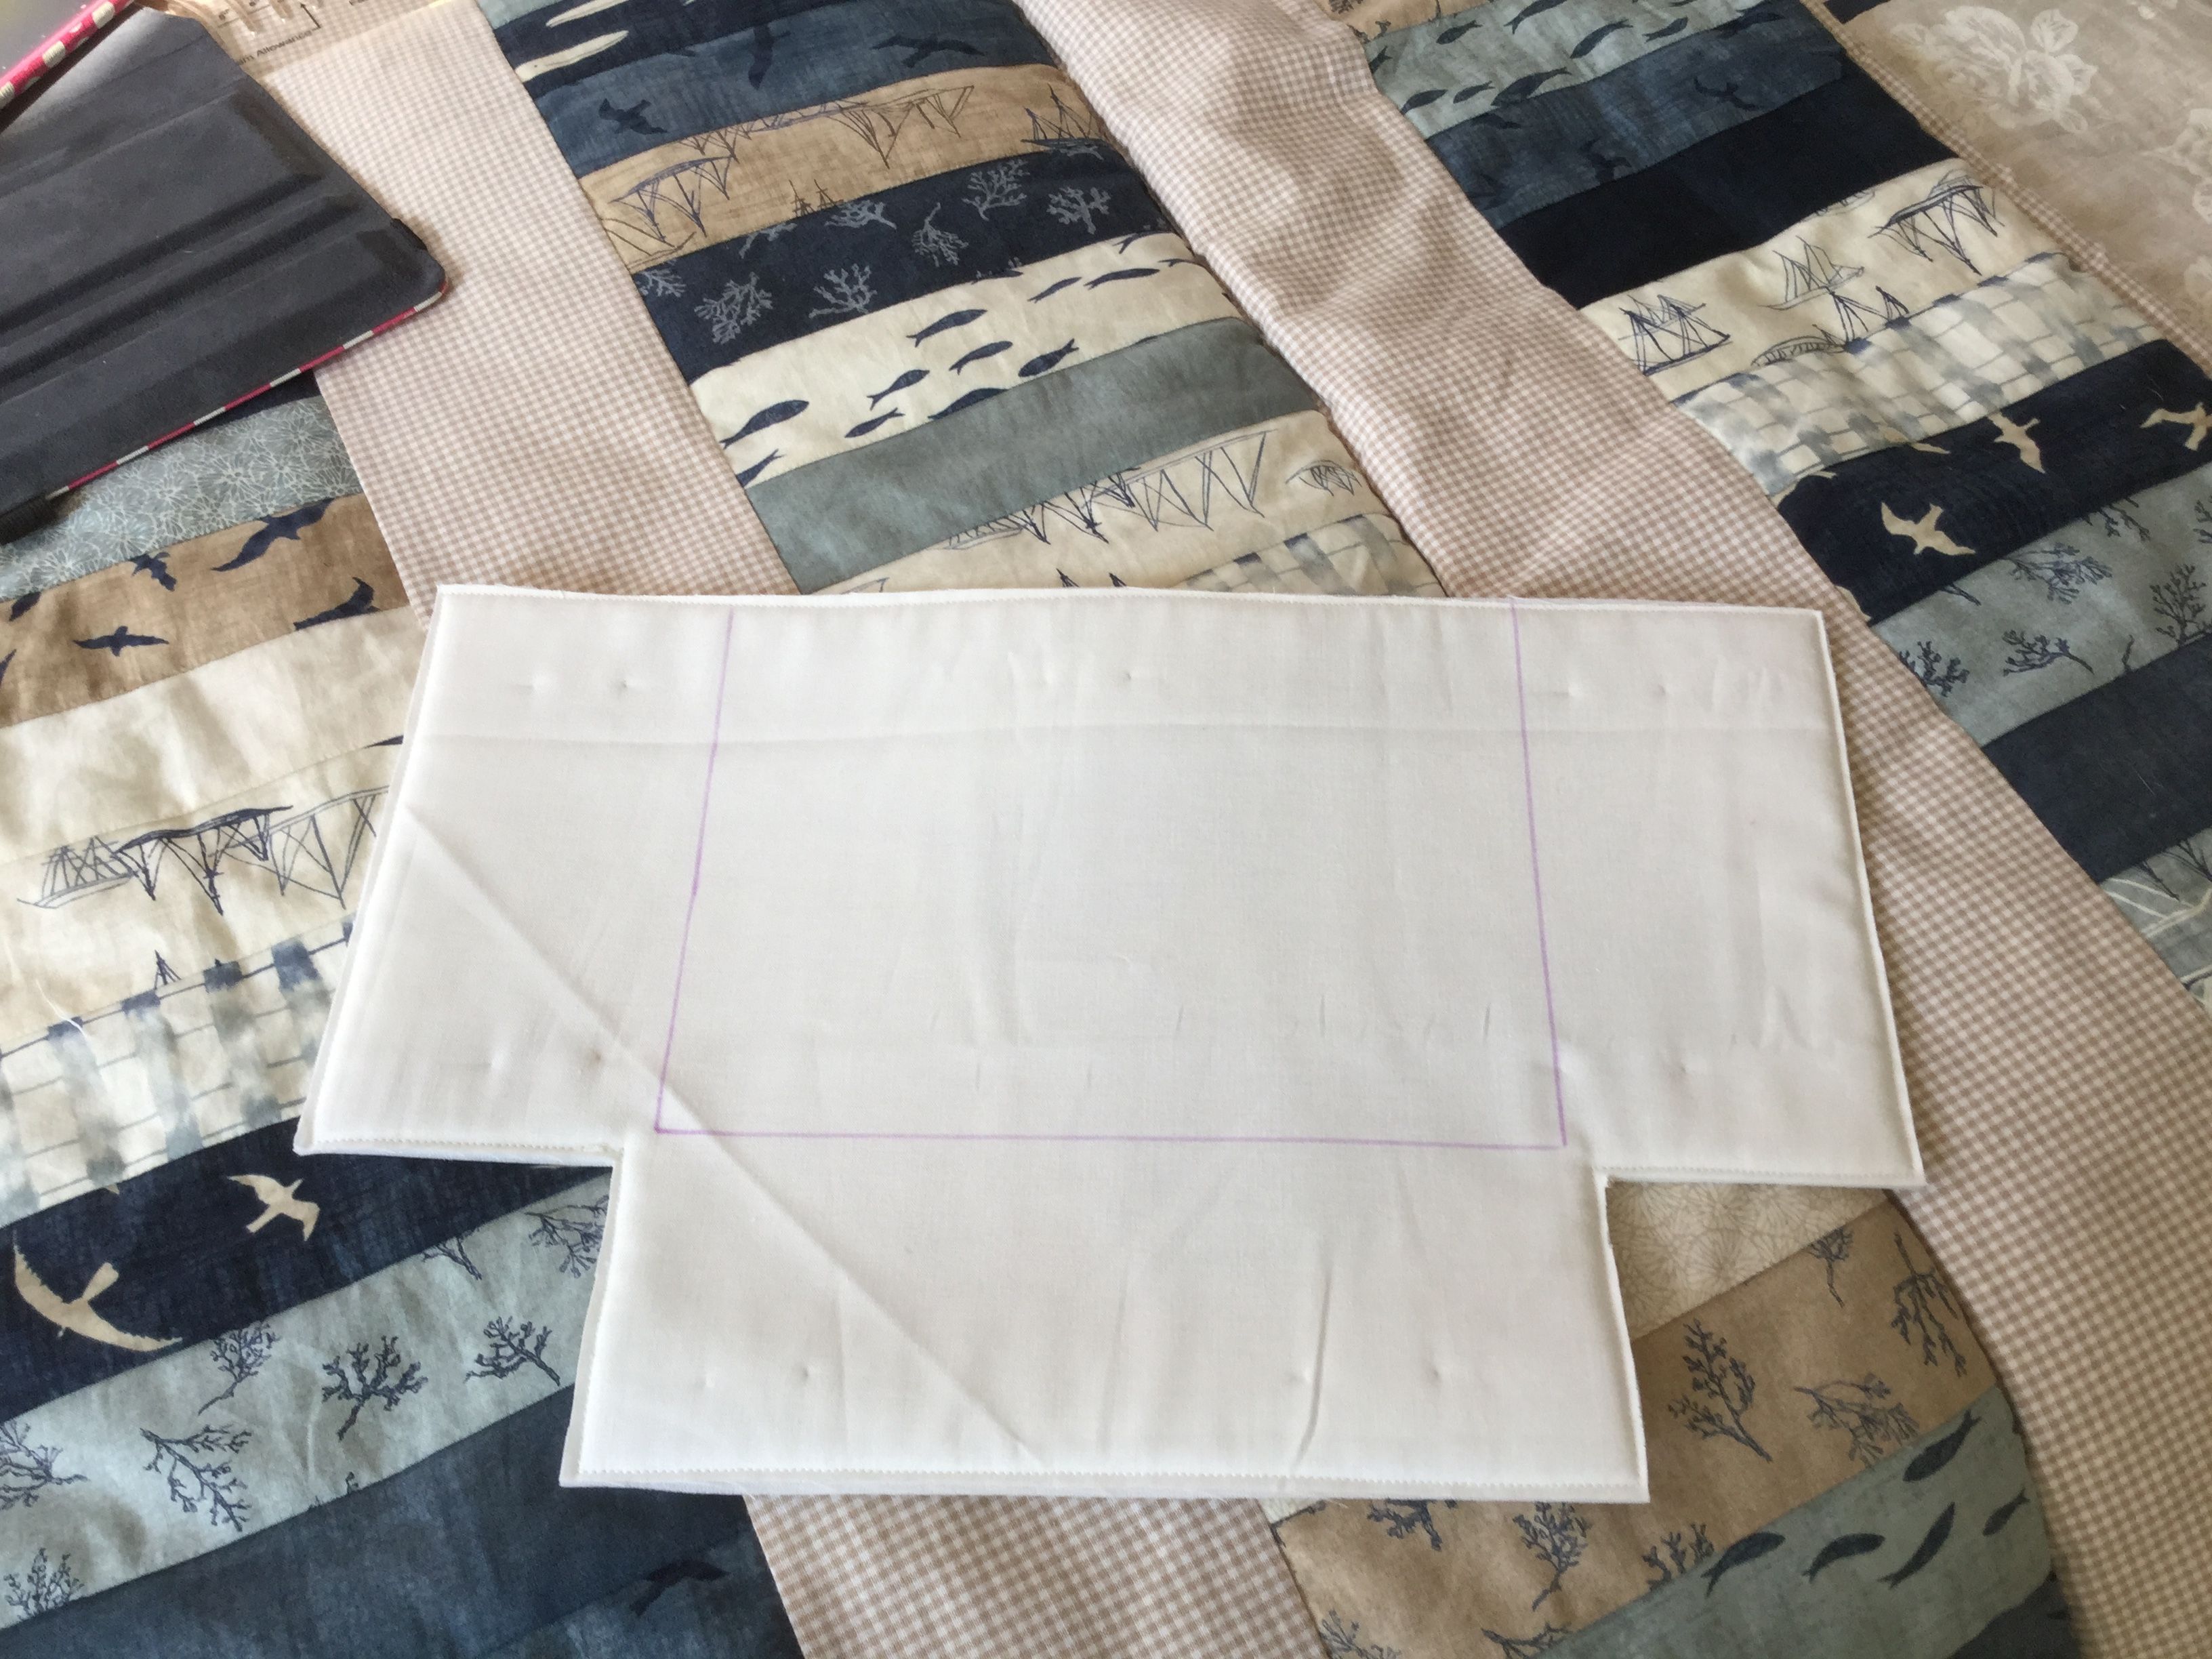
Stitch around the main fabric pieces 1/8″ from the edge. Now take a trick marker and mark a rectangle as seen below: 3 1/2 inches from the sides and bottom. Sew along those lines.
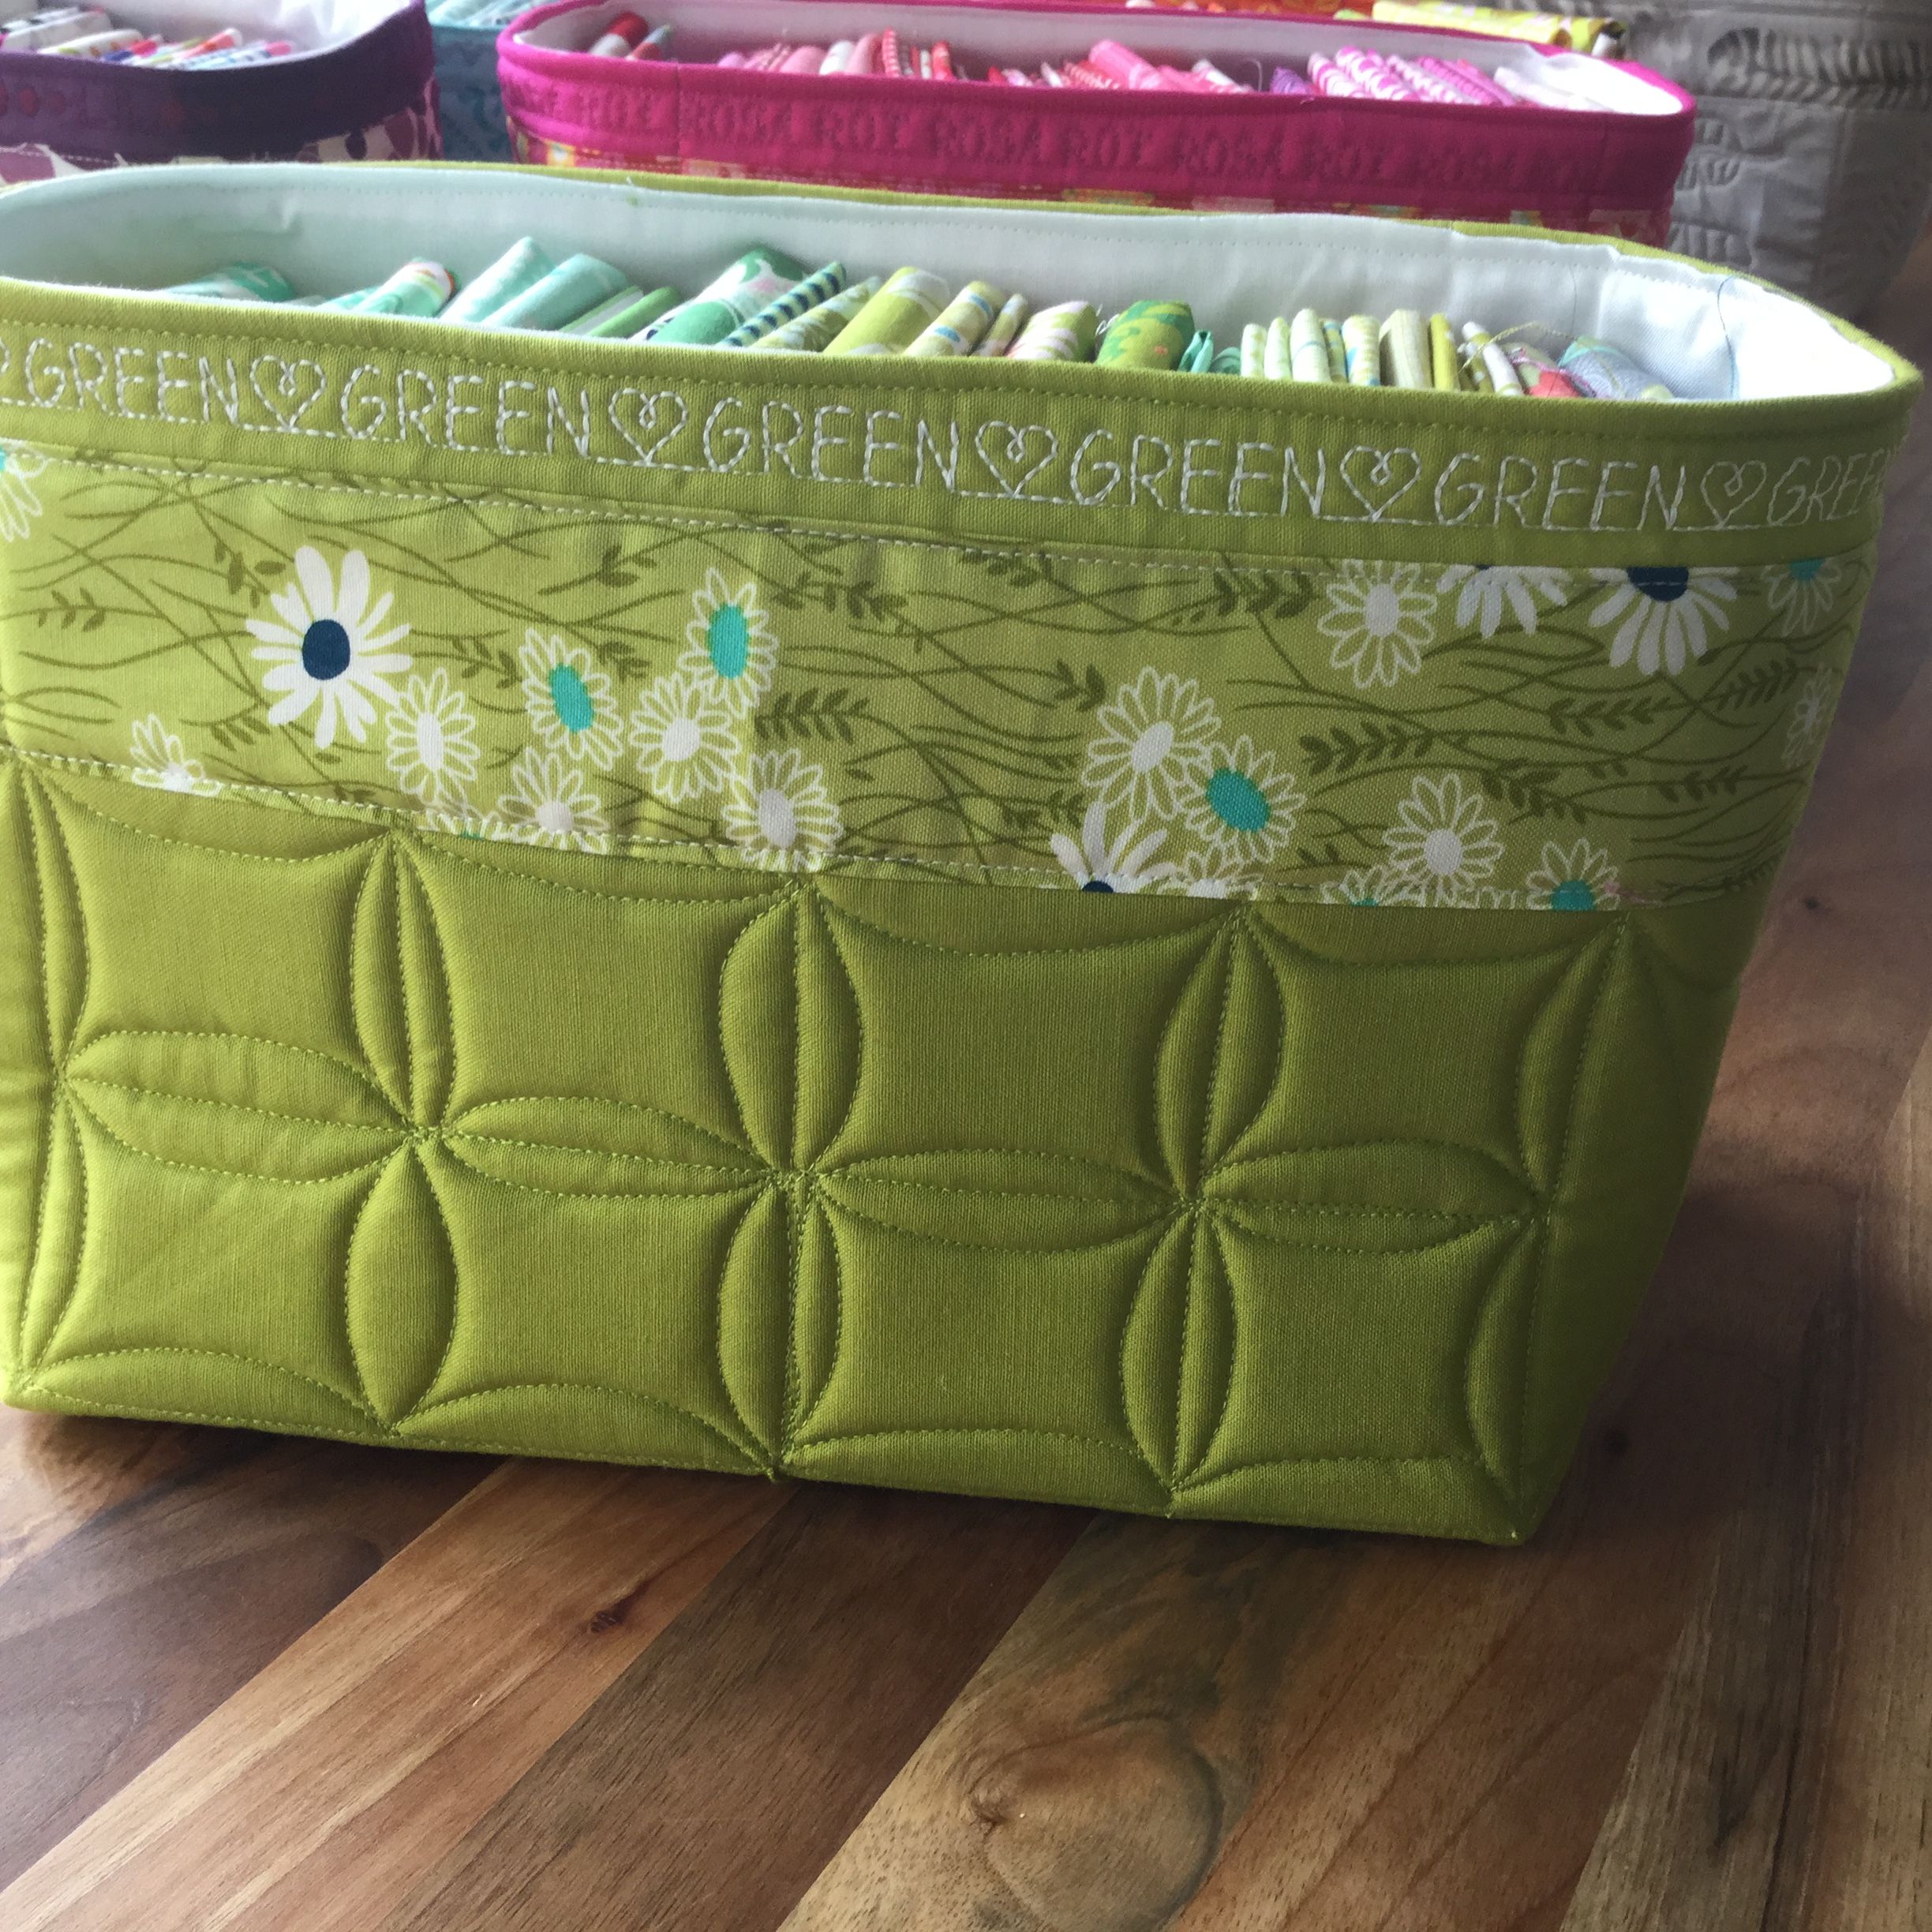
If you would like to sew the version with the accent fabric strips, now is the time to sew them to your basket pieces. Take the 2 1/2″ strips you prepared, iron the long sides a scant 1/2″ to the back side, place on your basket pieces approx. 1 1/2″ from the upper edge, pin in place and sew all around 1/8″ from the edge of the strip.
If you would like to embroider or sew some words onto your basket (like I did on the green basket) – you should do that now, right above the fabric strip.
For almost all my baskets (except for the orange one and the one with the Dresden plate) – it’s now time to quilt. Here are my examples:
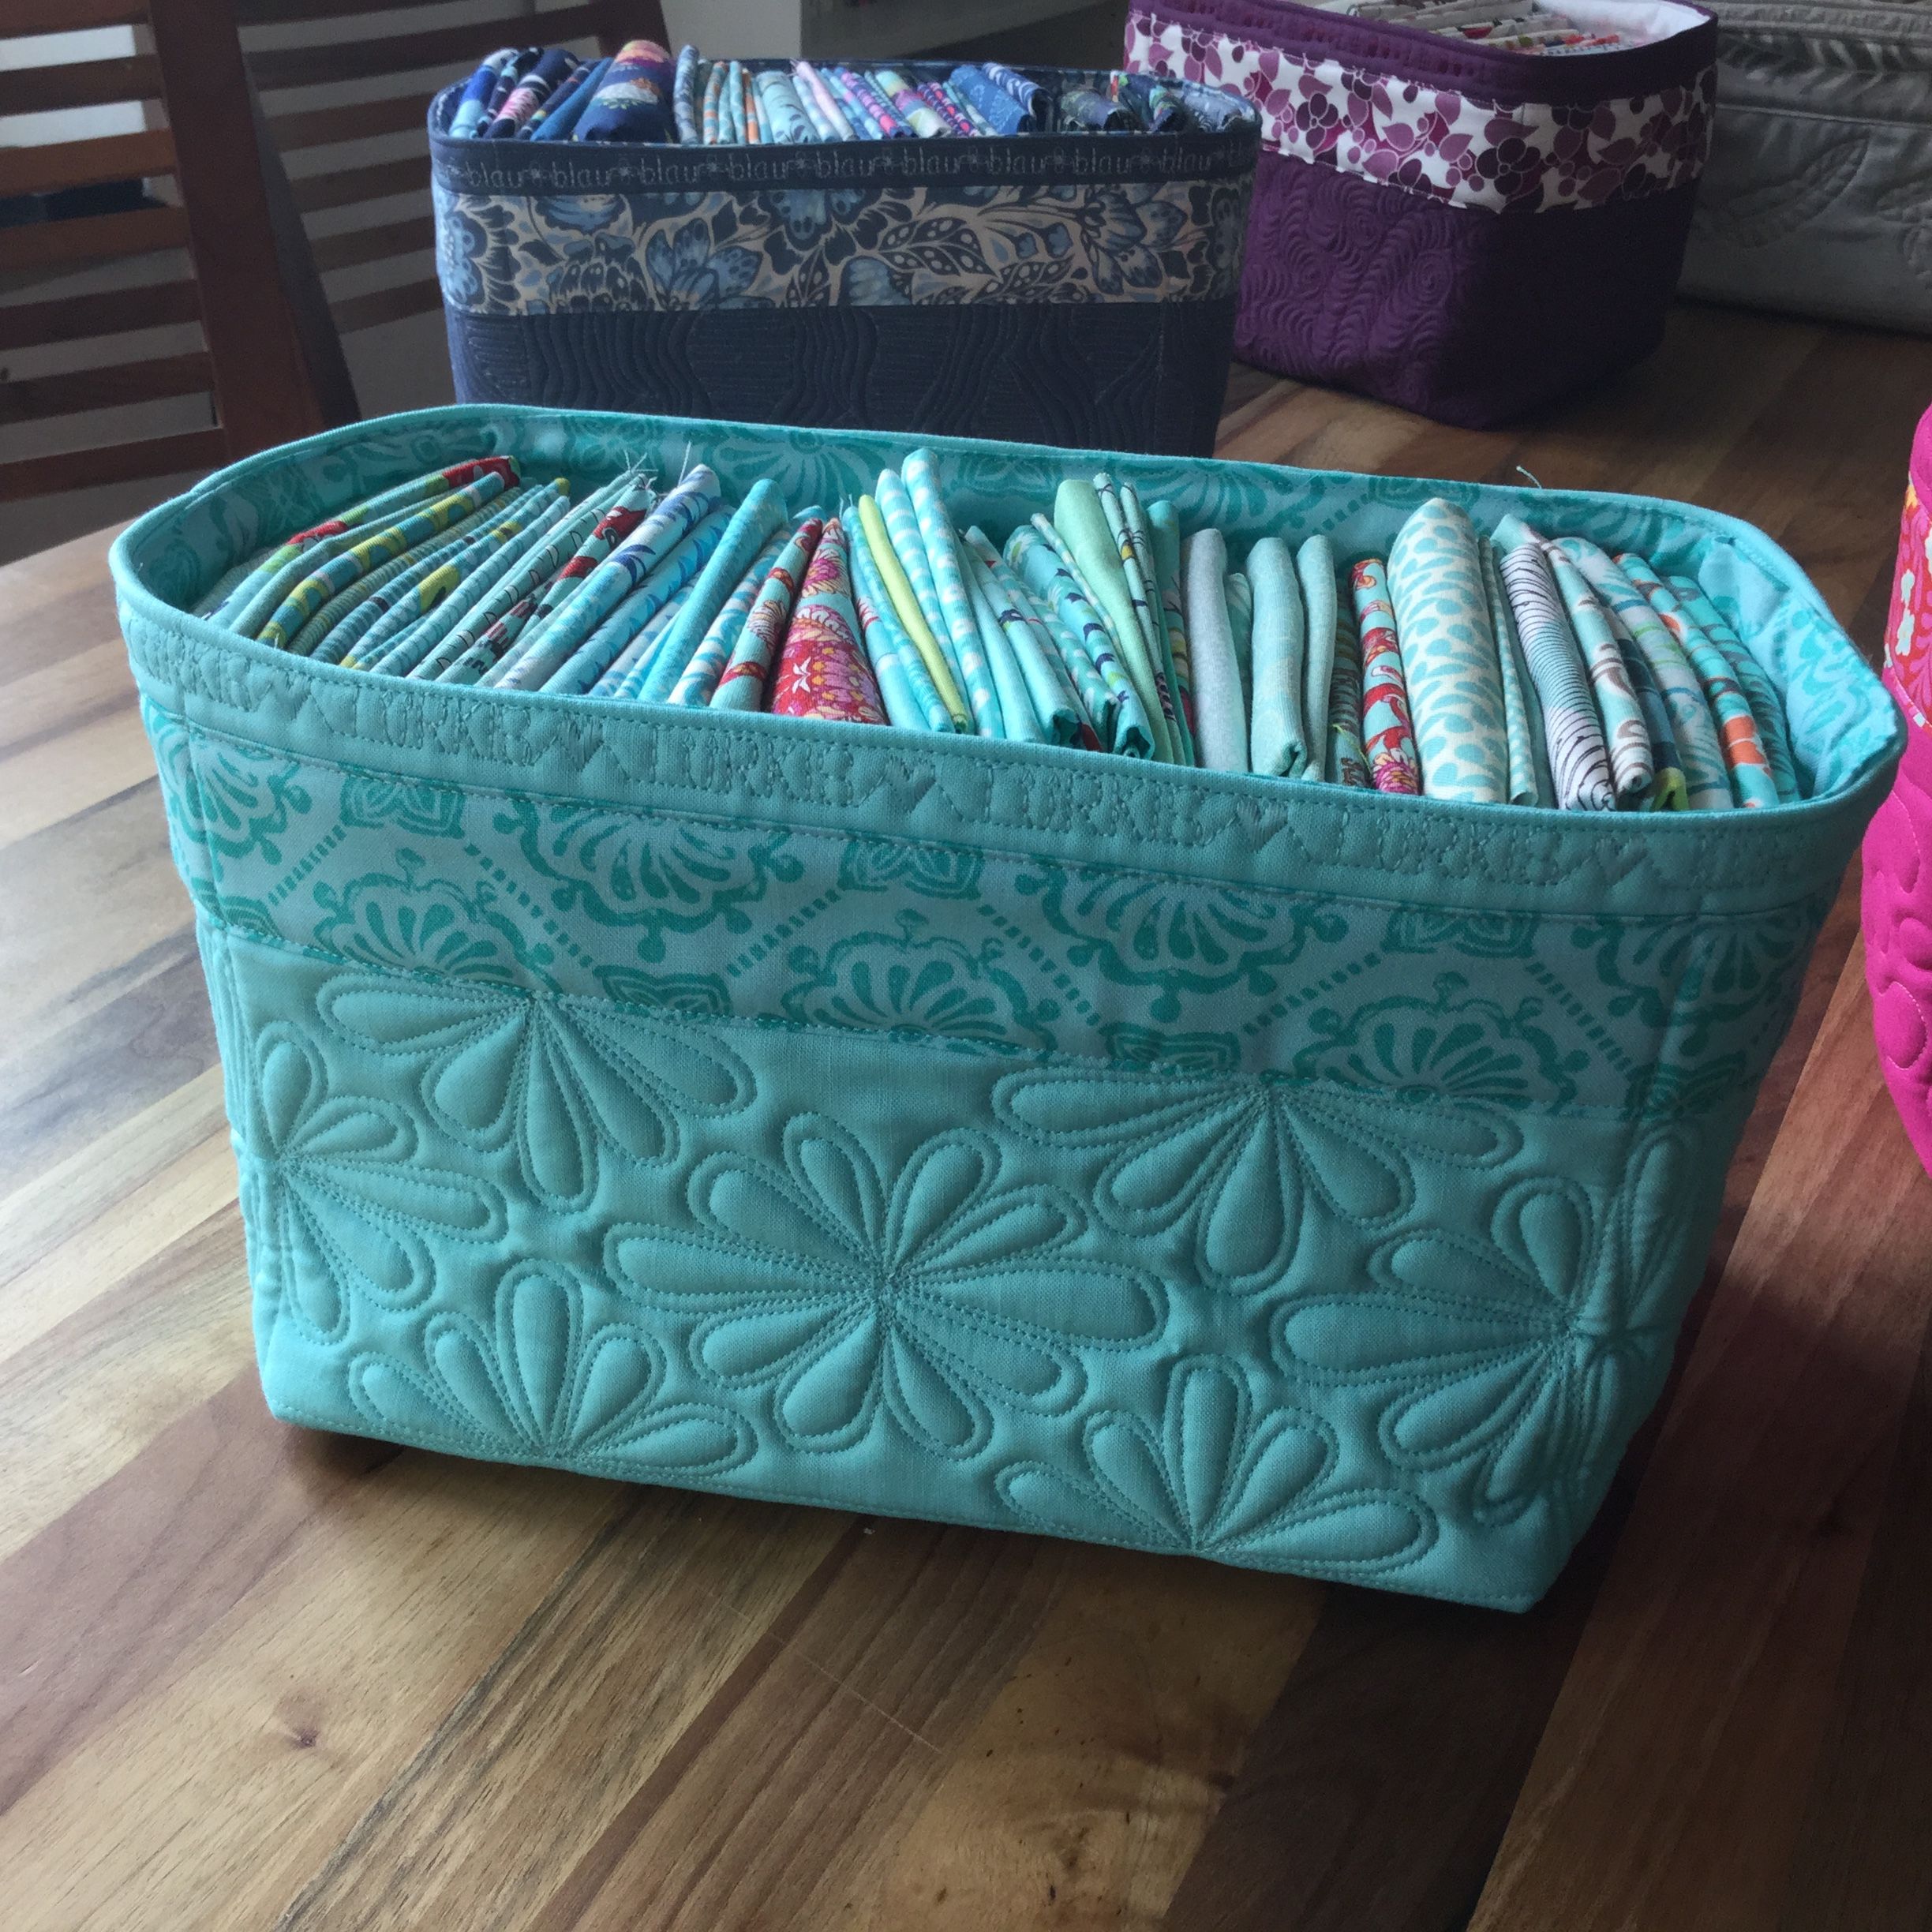
Mostly I tried to pick my quilting patterns in a way, that would reflect the pattern on the accent fabric like on this turquoise basket….
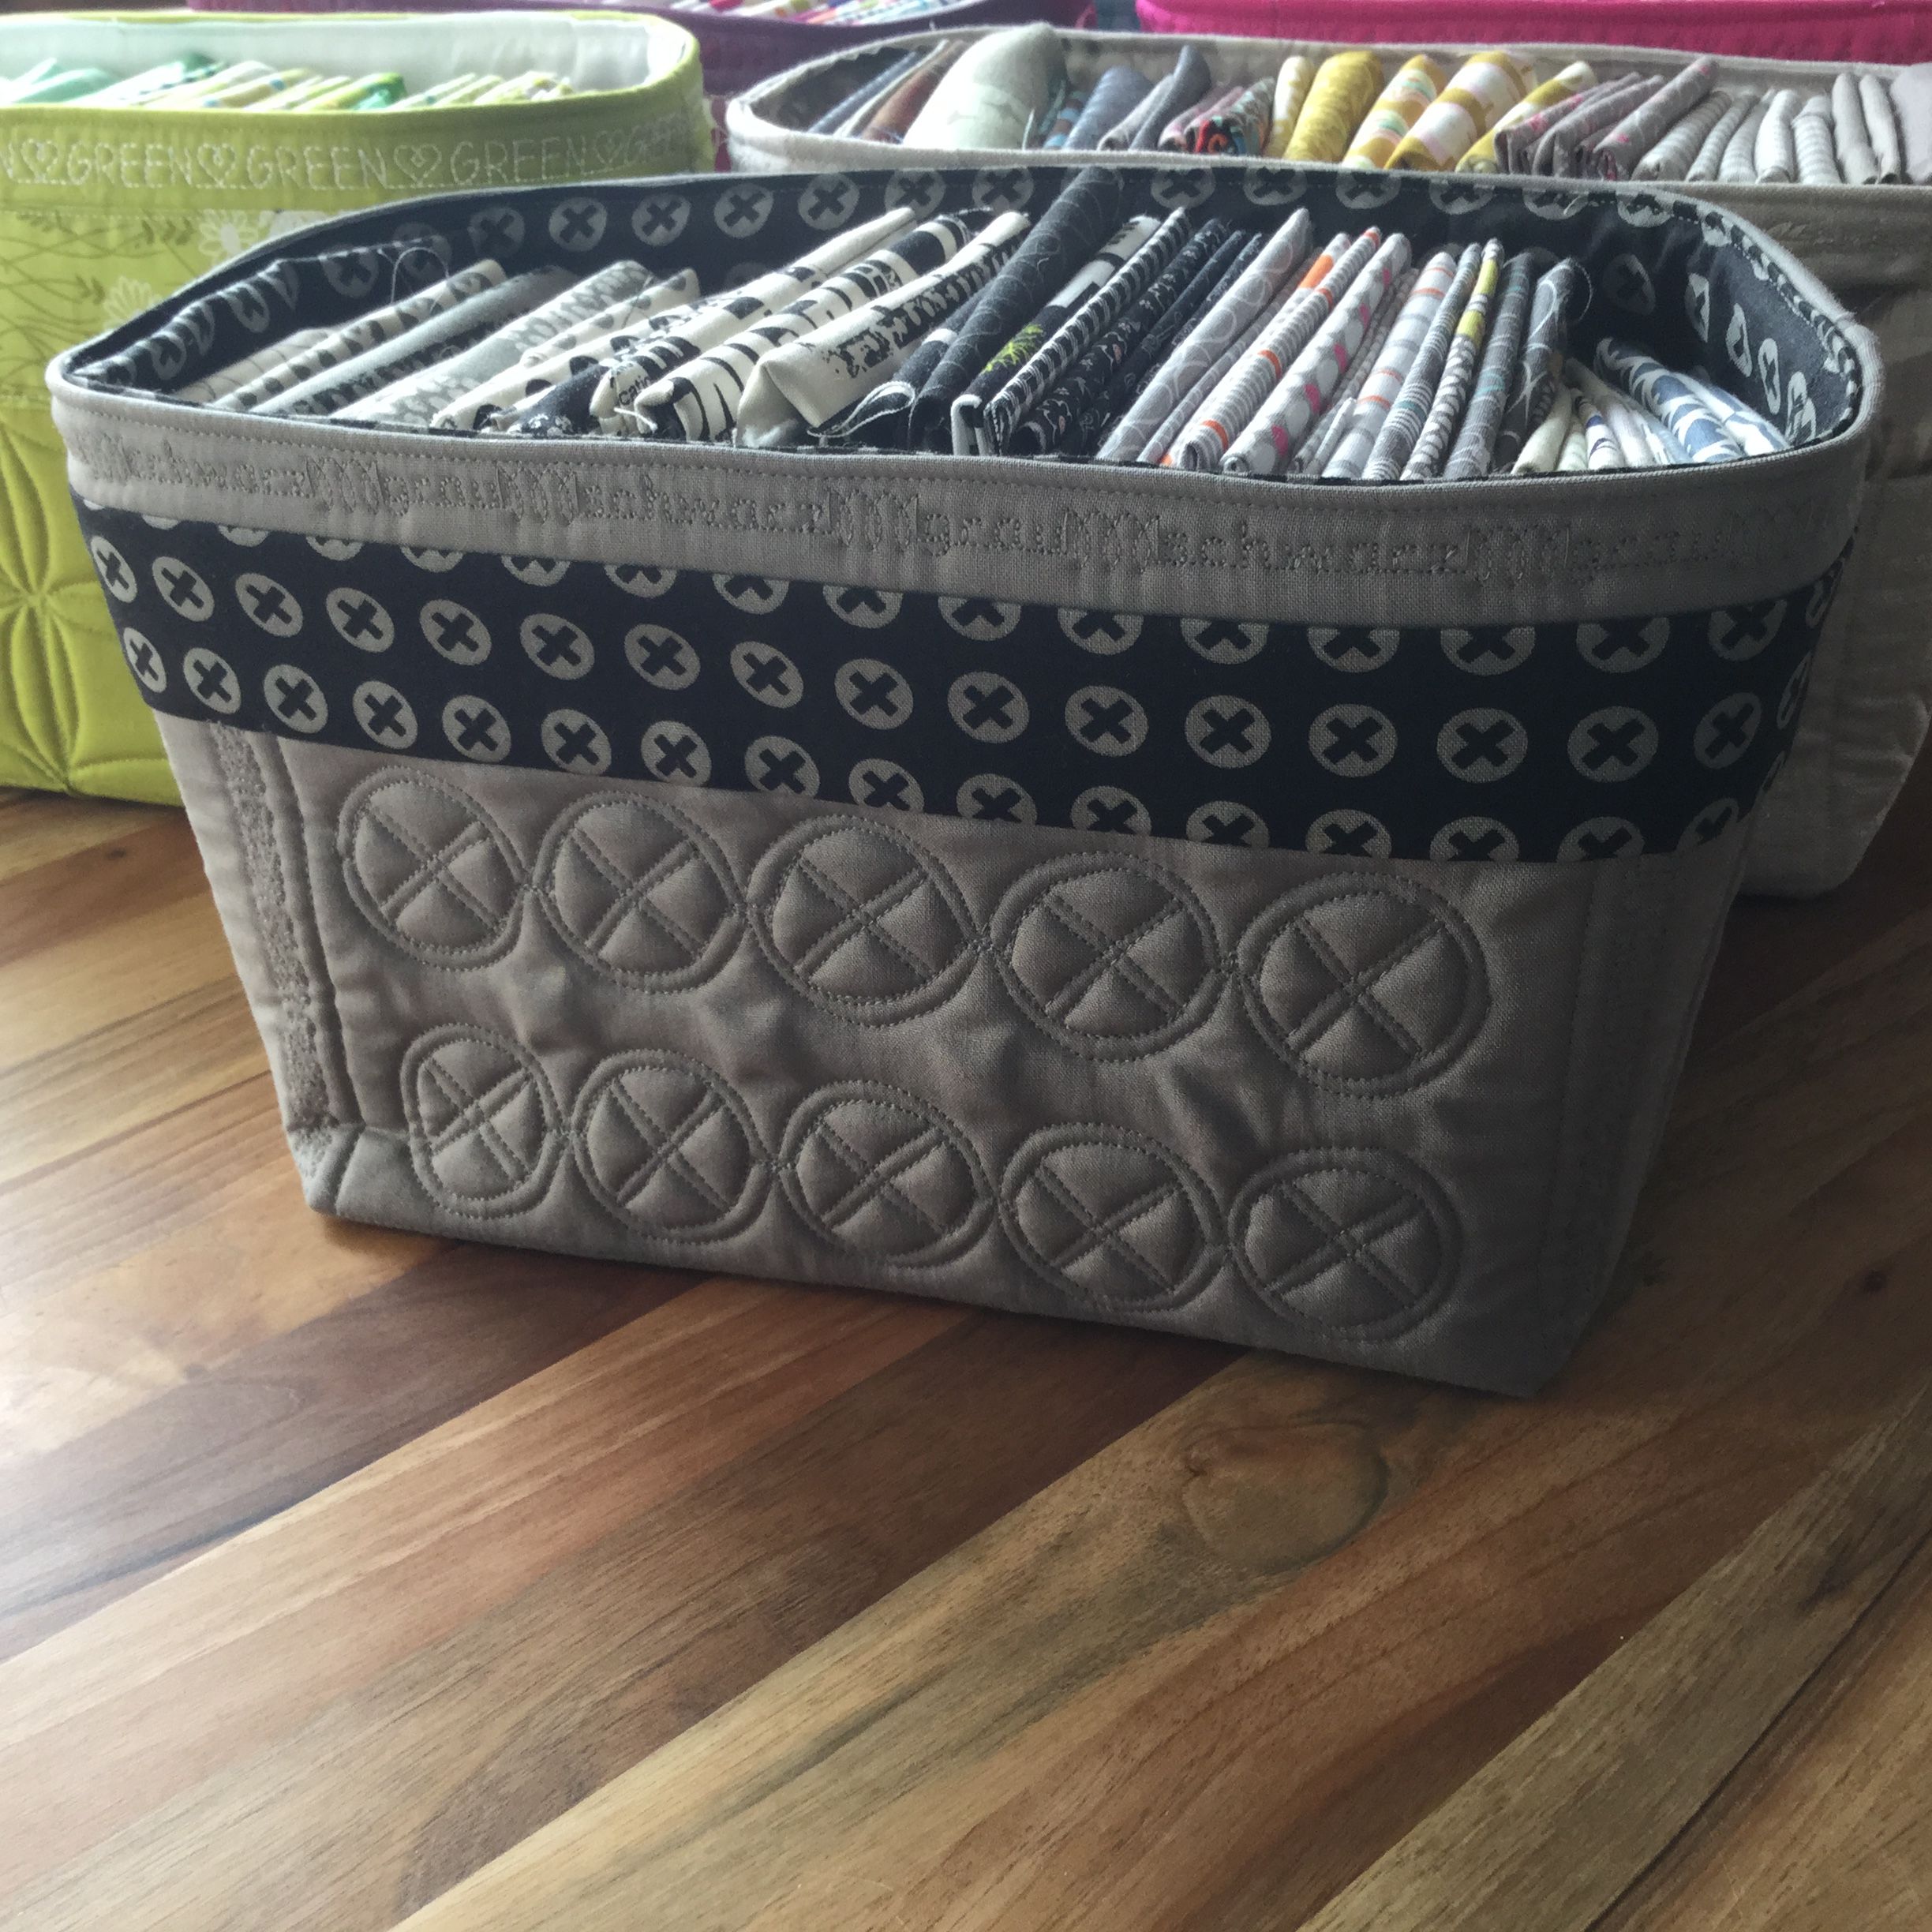
….or this one in black and grey.

On this basket I just felt like quilting my snail-worms….
Here….
… and here, I was in a hurry (obviously) :o) – but I still think it looks kinda nice.
On the blue basket I wanted to try something new…
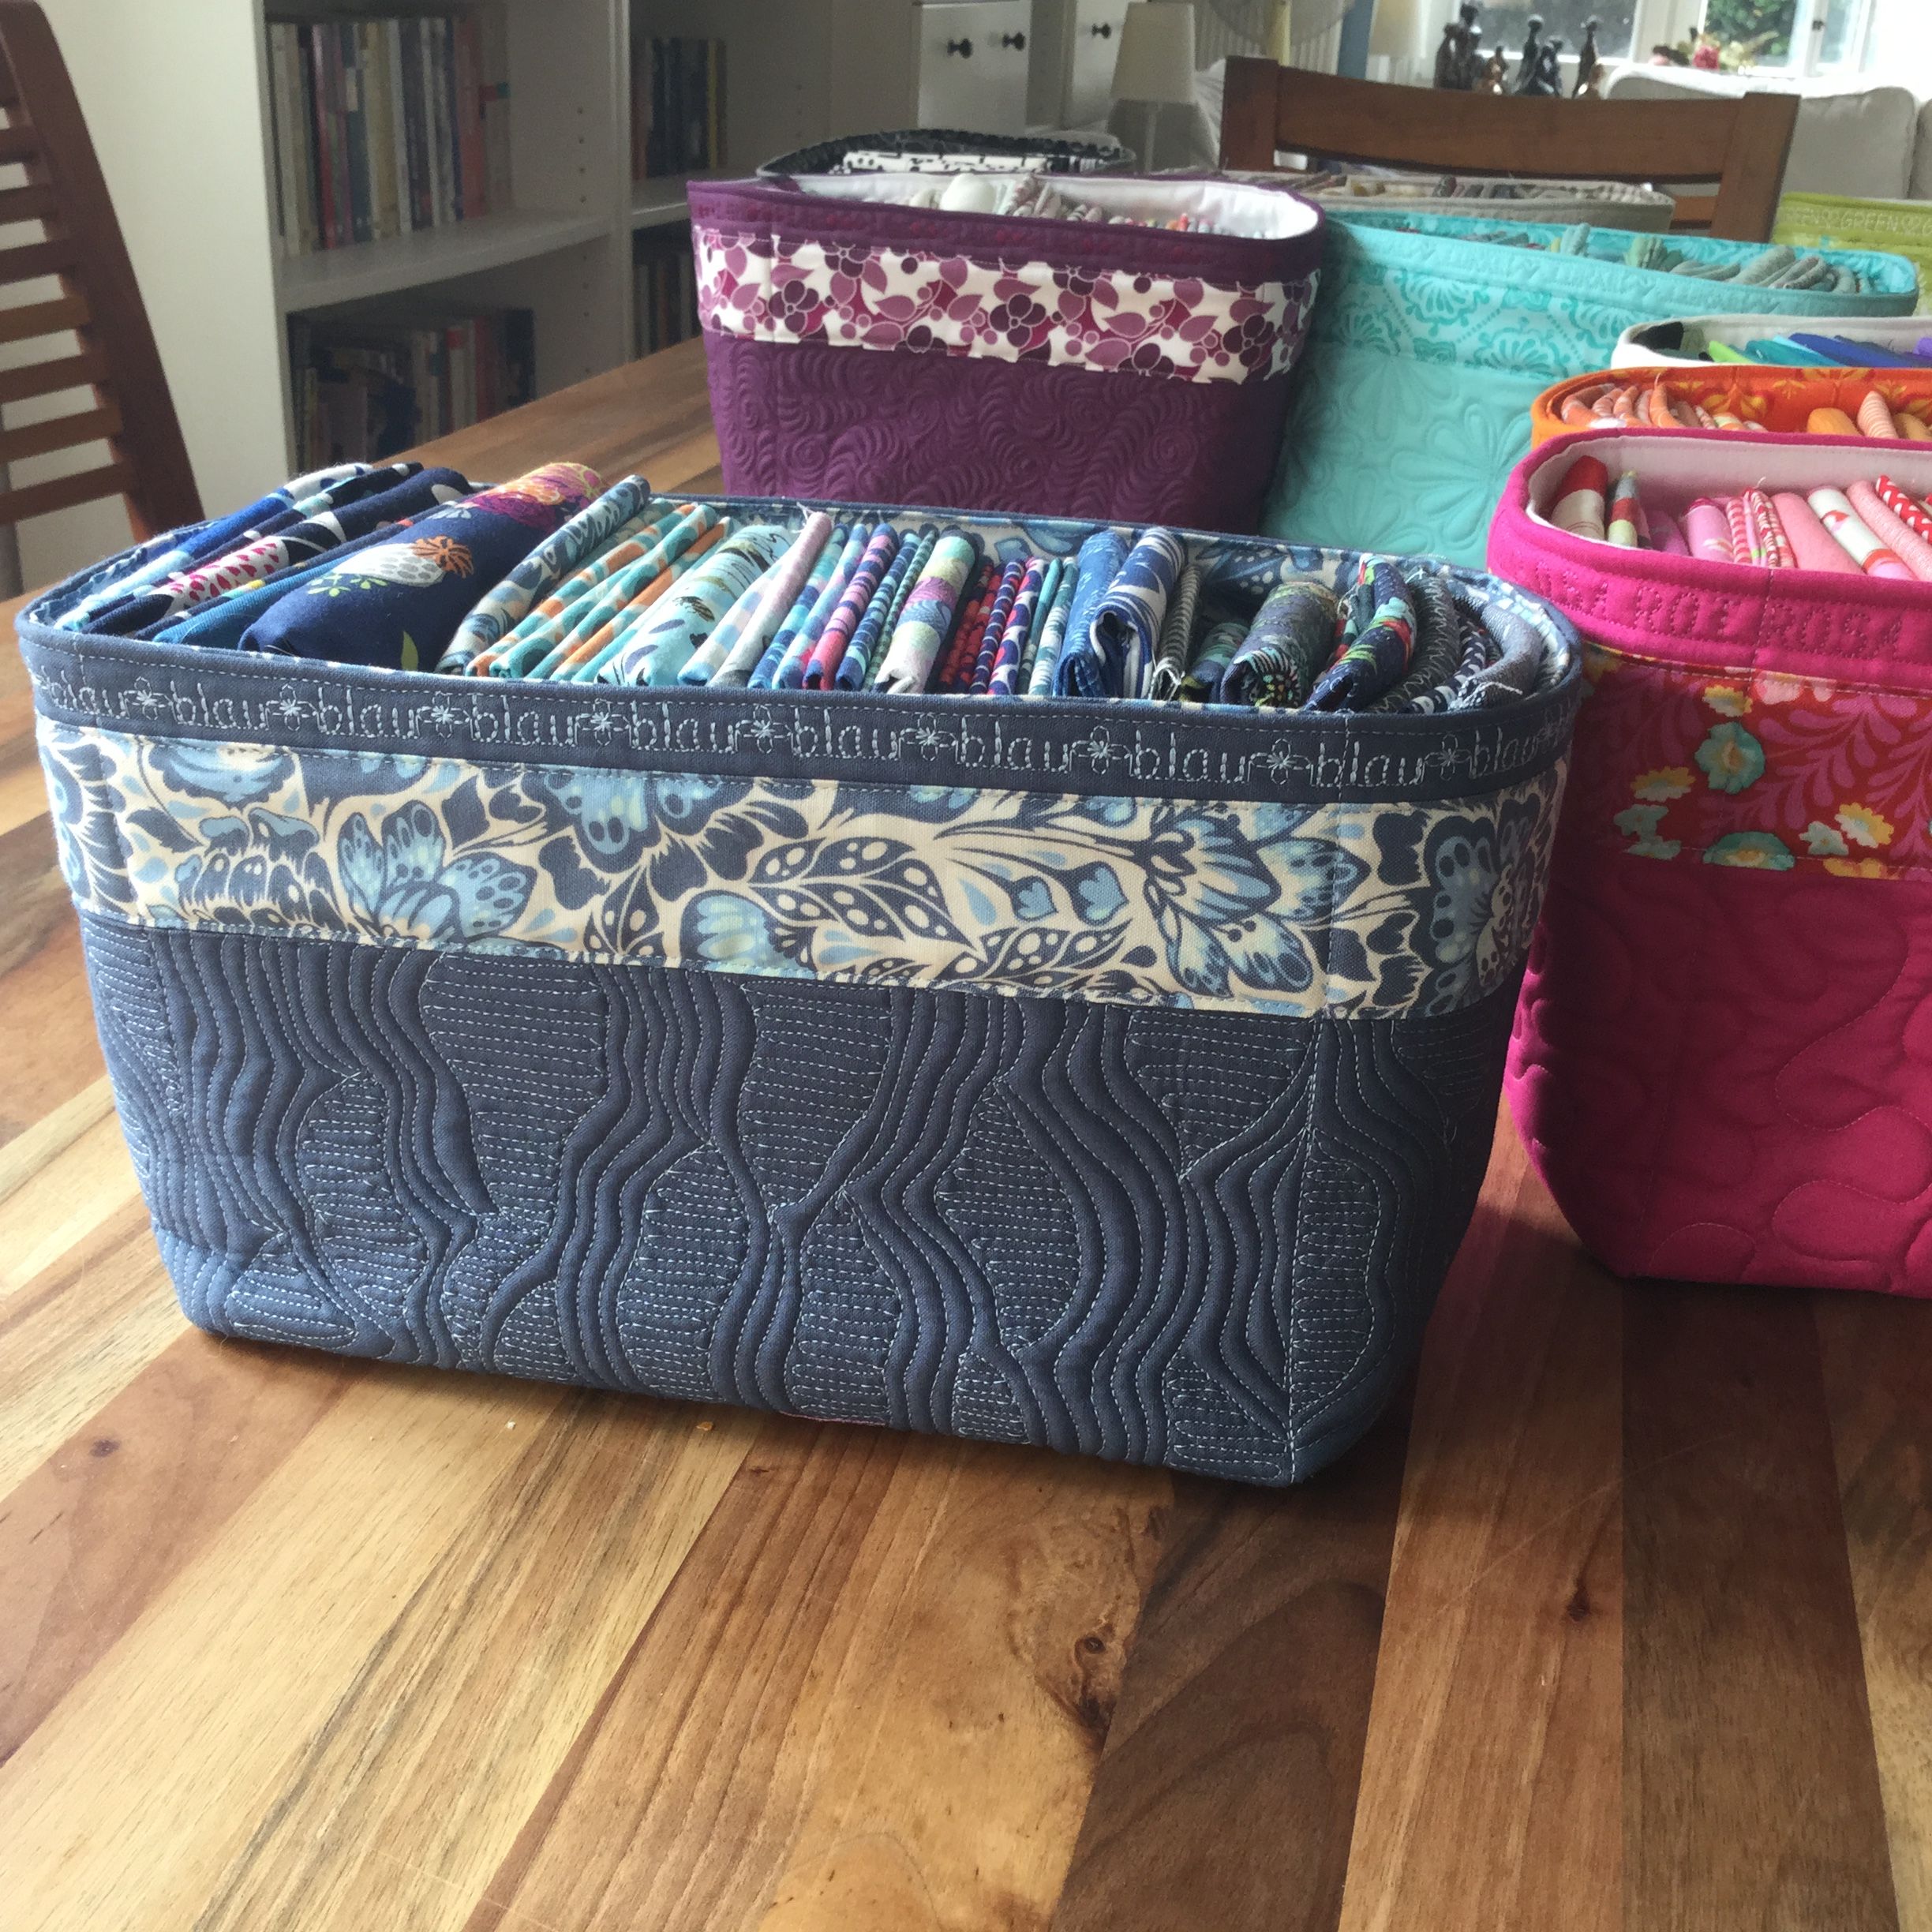
You just quilt wavy lines into your basket, about 1/8″ apart and once in a while you leave a little more room between two lines, preferably in odd and different shapes, then you quilt horizontal lines into those shapes and continue to do your wavy lines.
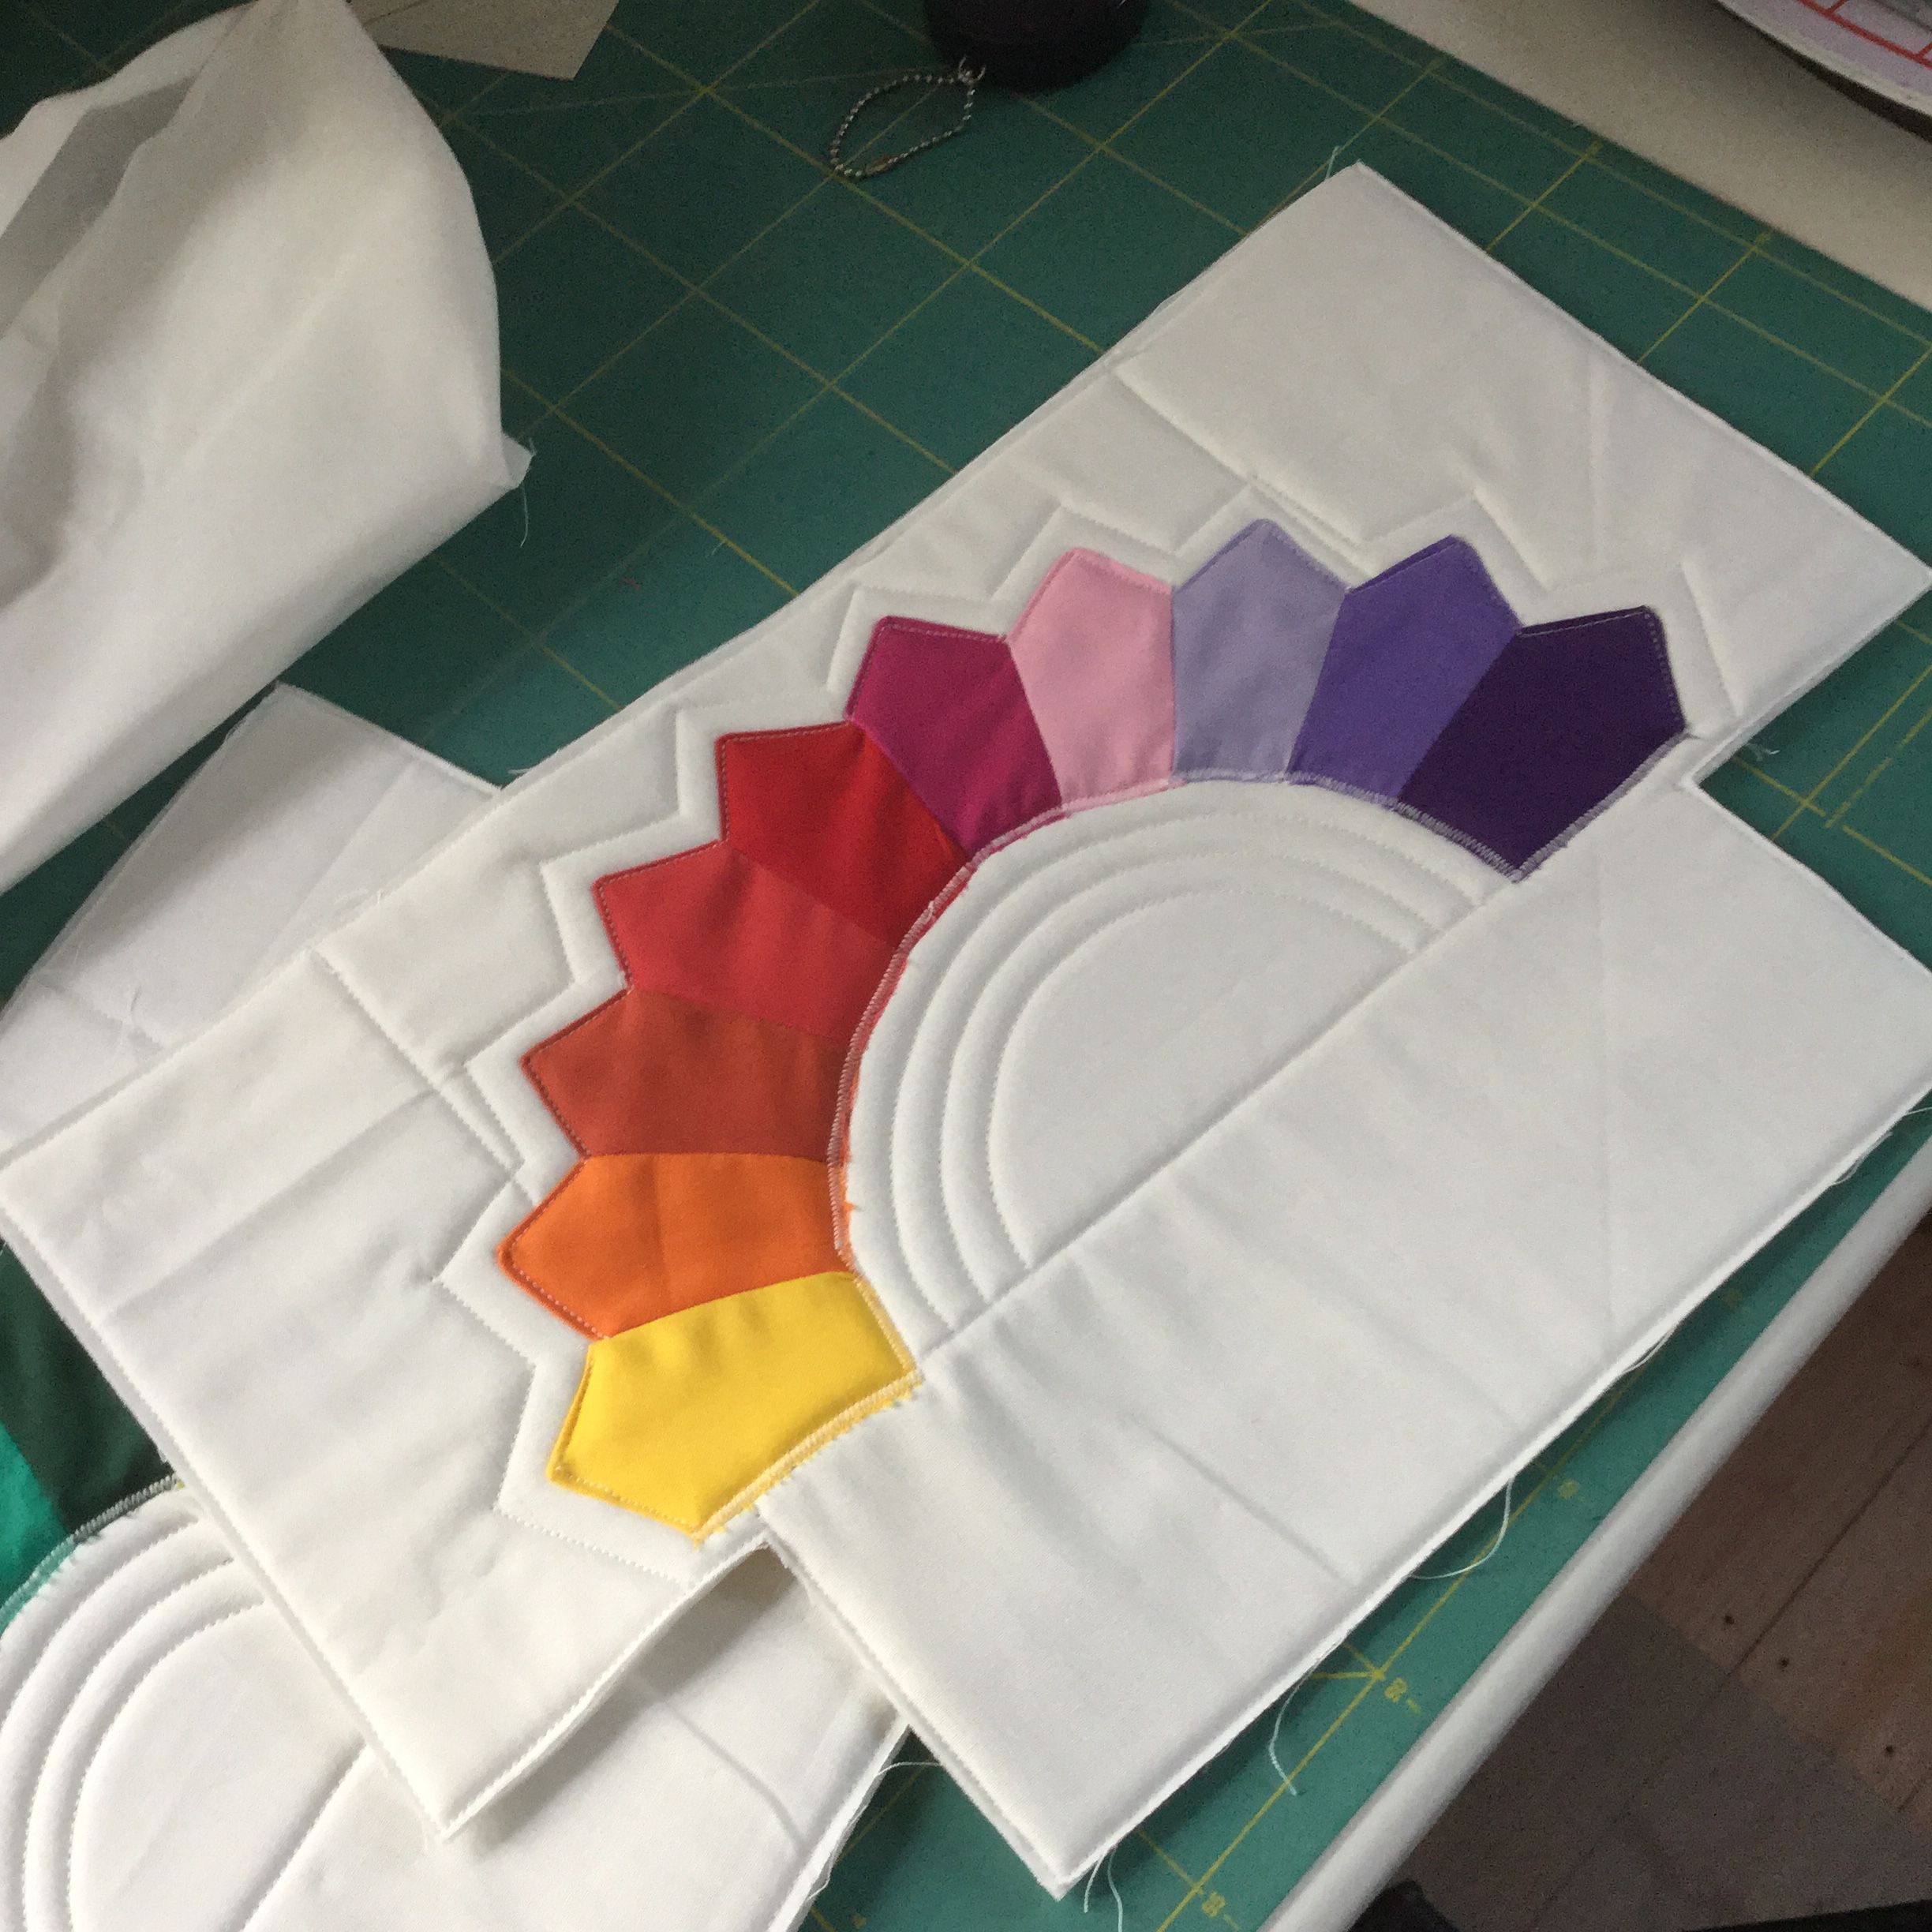
If you would like to sew the basket with the half Dresden Plates, here’s what you do before quilting:
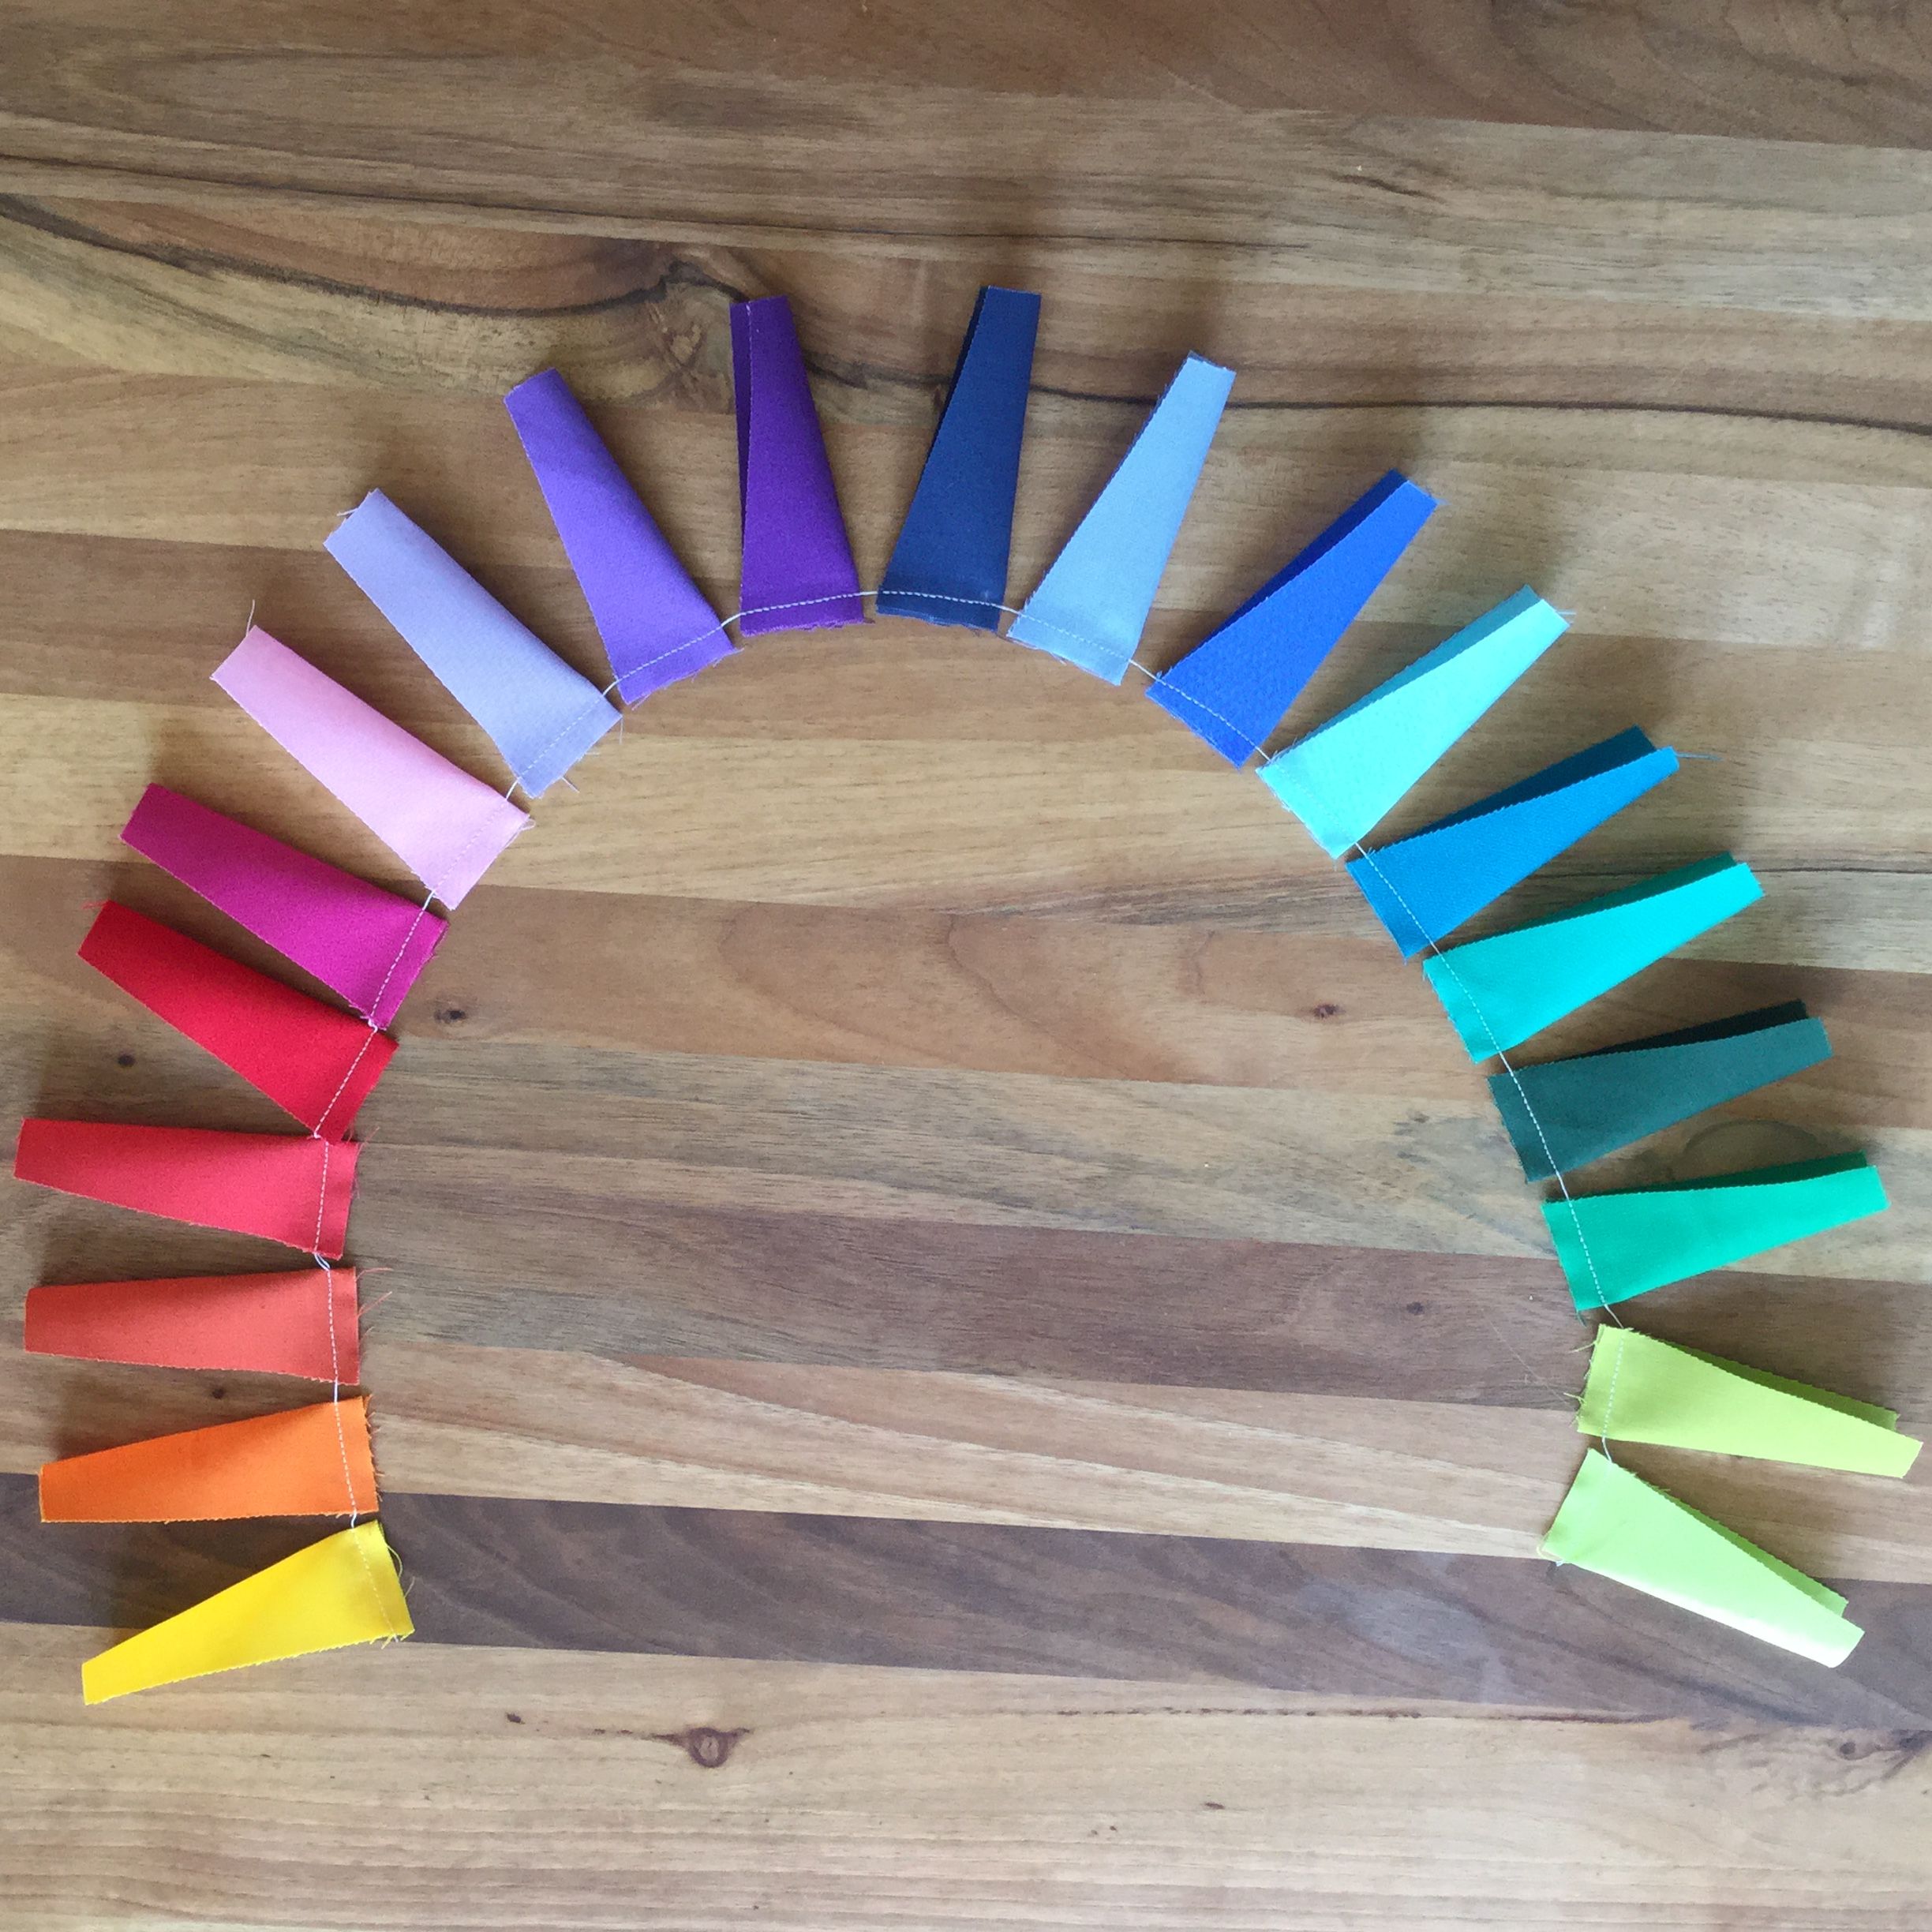
On your pattern sheet you will find the drawing of a wedge, best to cut yourself a template from cardboard or plastic template sheets, then cut 20 wedges from your choice of fabrics.
Fold them in half along the long side, right sides together, then sew across the wider edge with a 1/4″ seam allowance.
Chain sewing obviously works on that task.
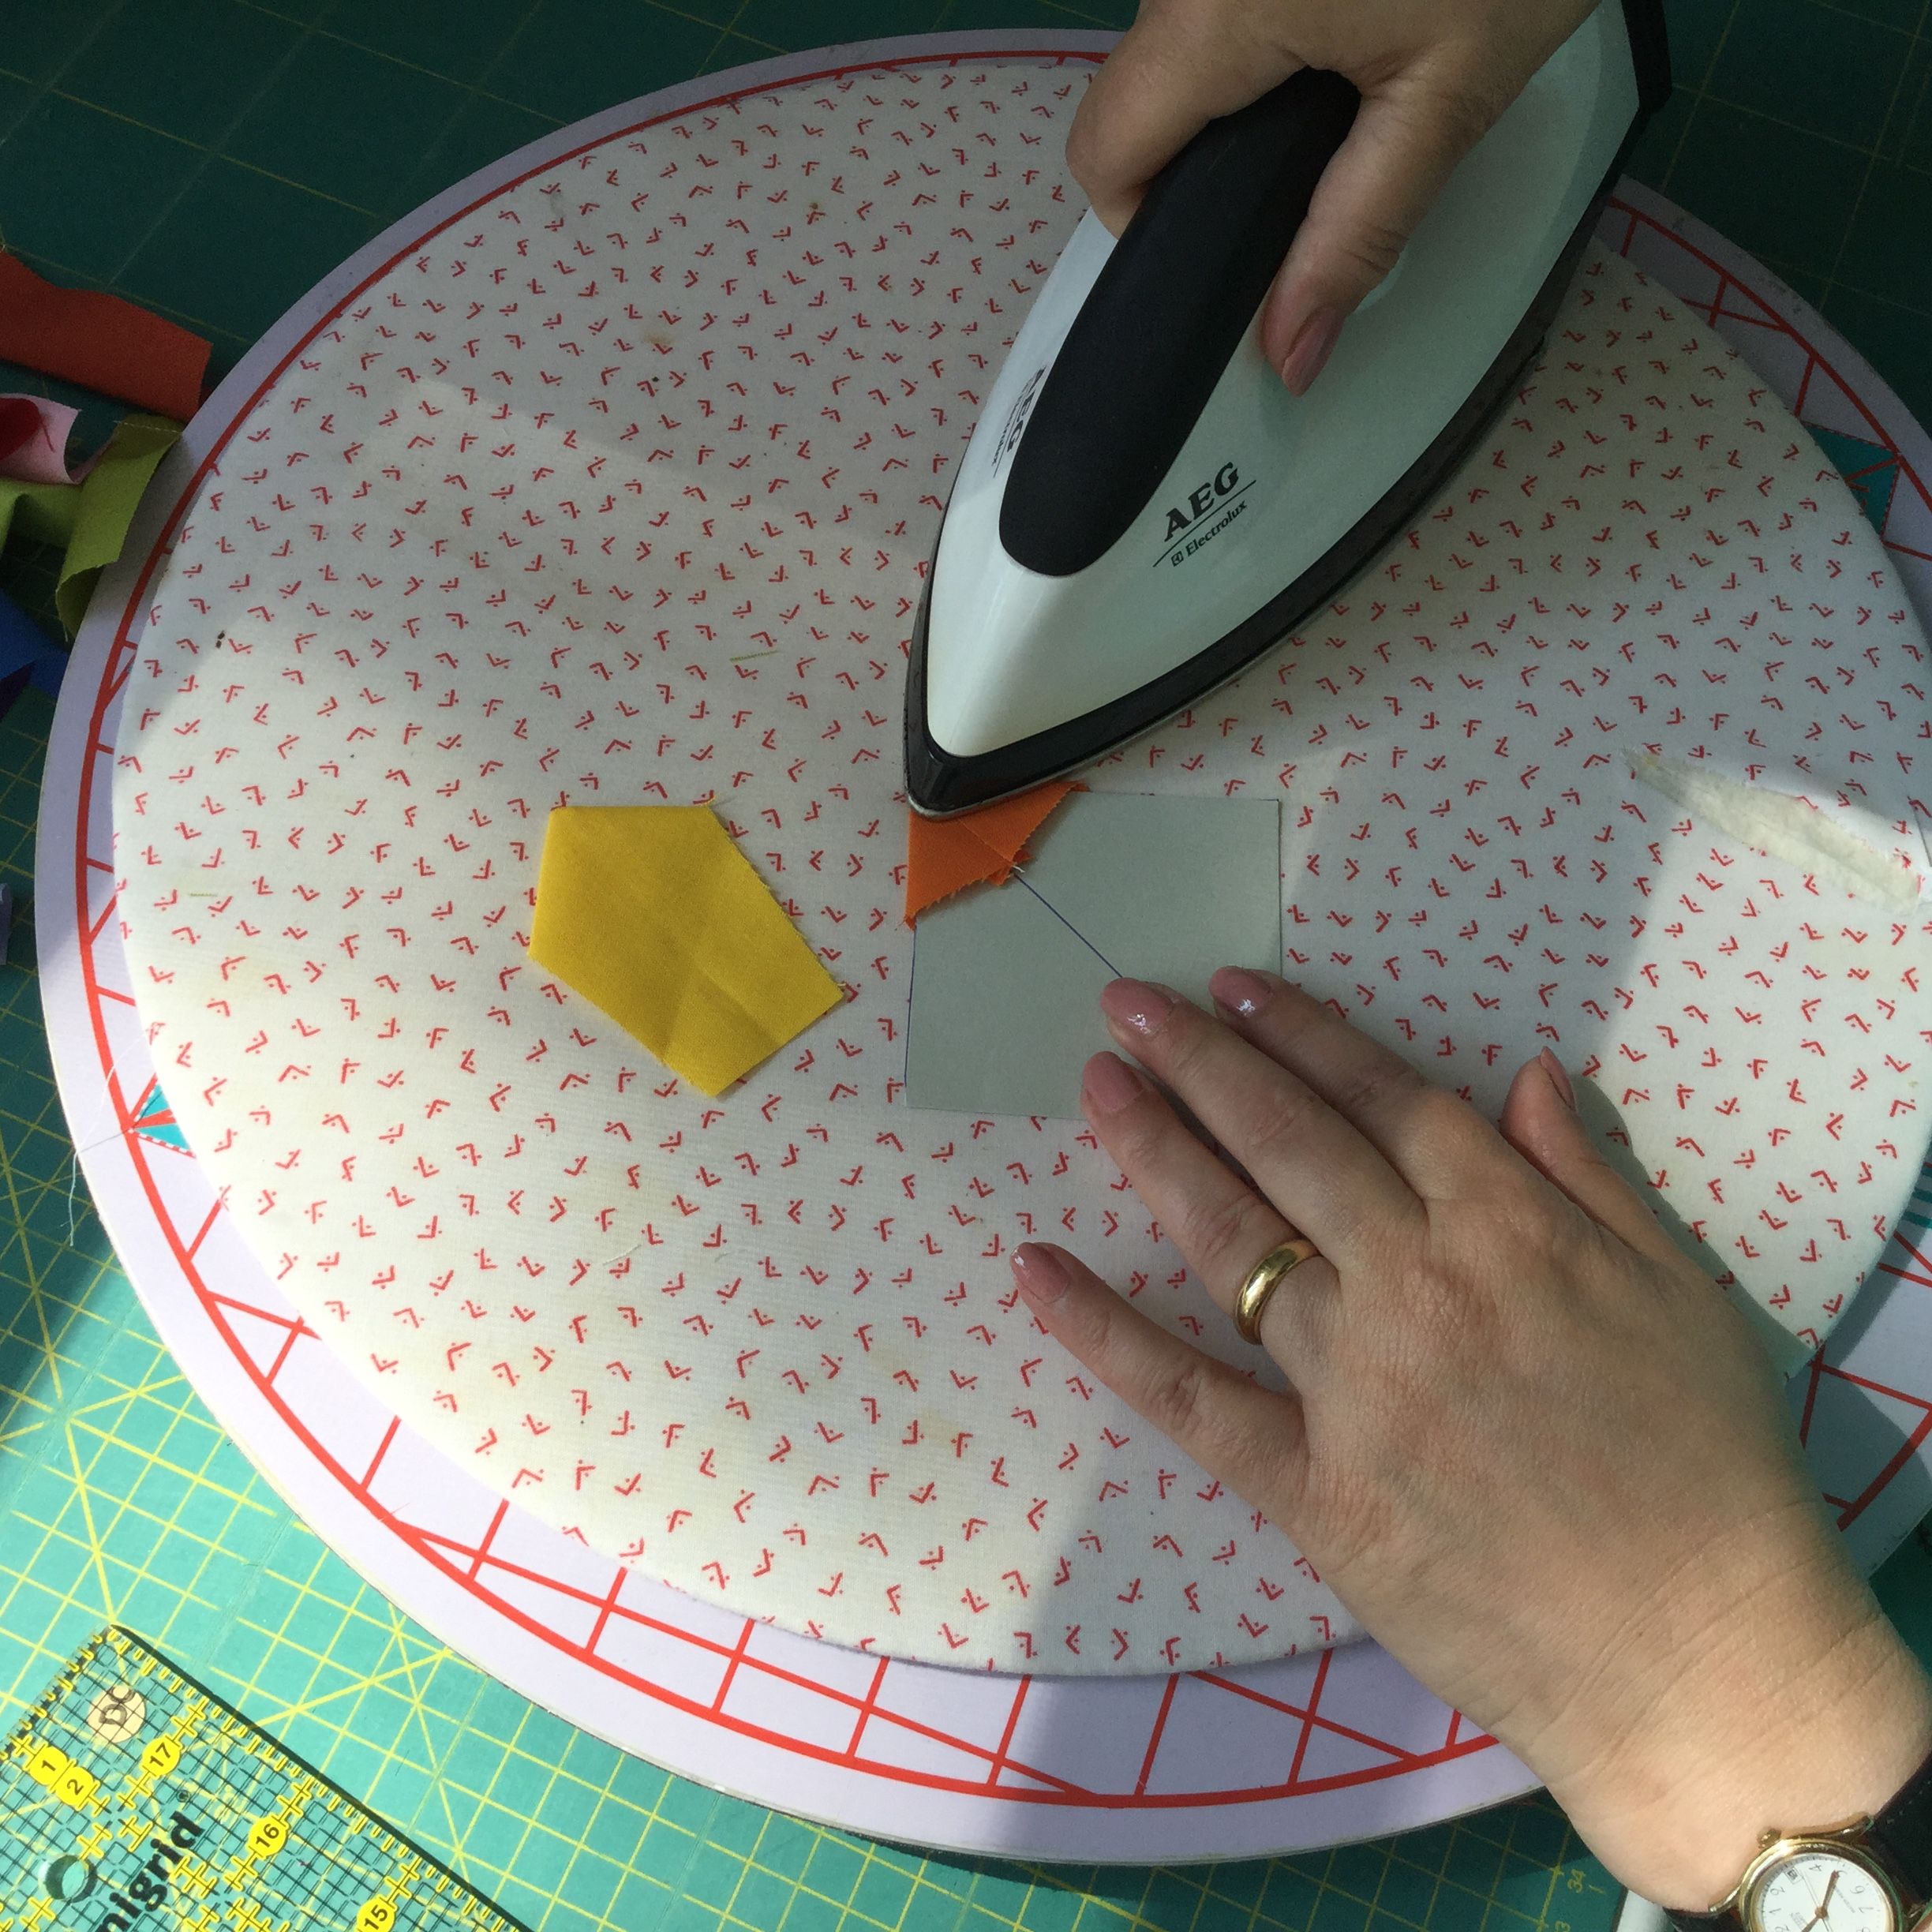
Now you cut yourself a little ironing helper from cardboard – 5″ x 5″ is a good size. Draw a diagonal line from one corner to the opposite one.

This is meant to get your corners straight – don’t eye-ball it, trust me on that one, it’s not gonna turn out straight!
Finger press the seam allowances open and turn the piece right side out, put your little cardboard template into the resulting corner – the drawn line should be a continuation of your seam – now iron your little wedge.
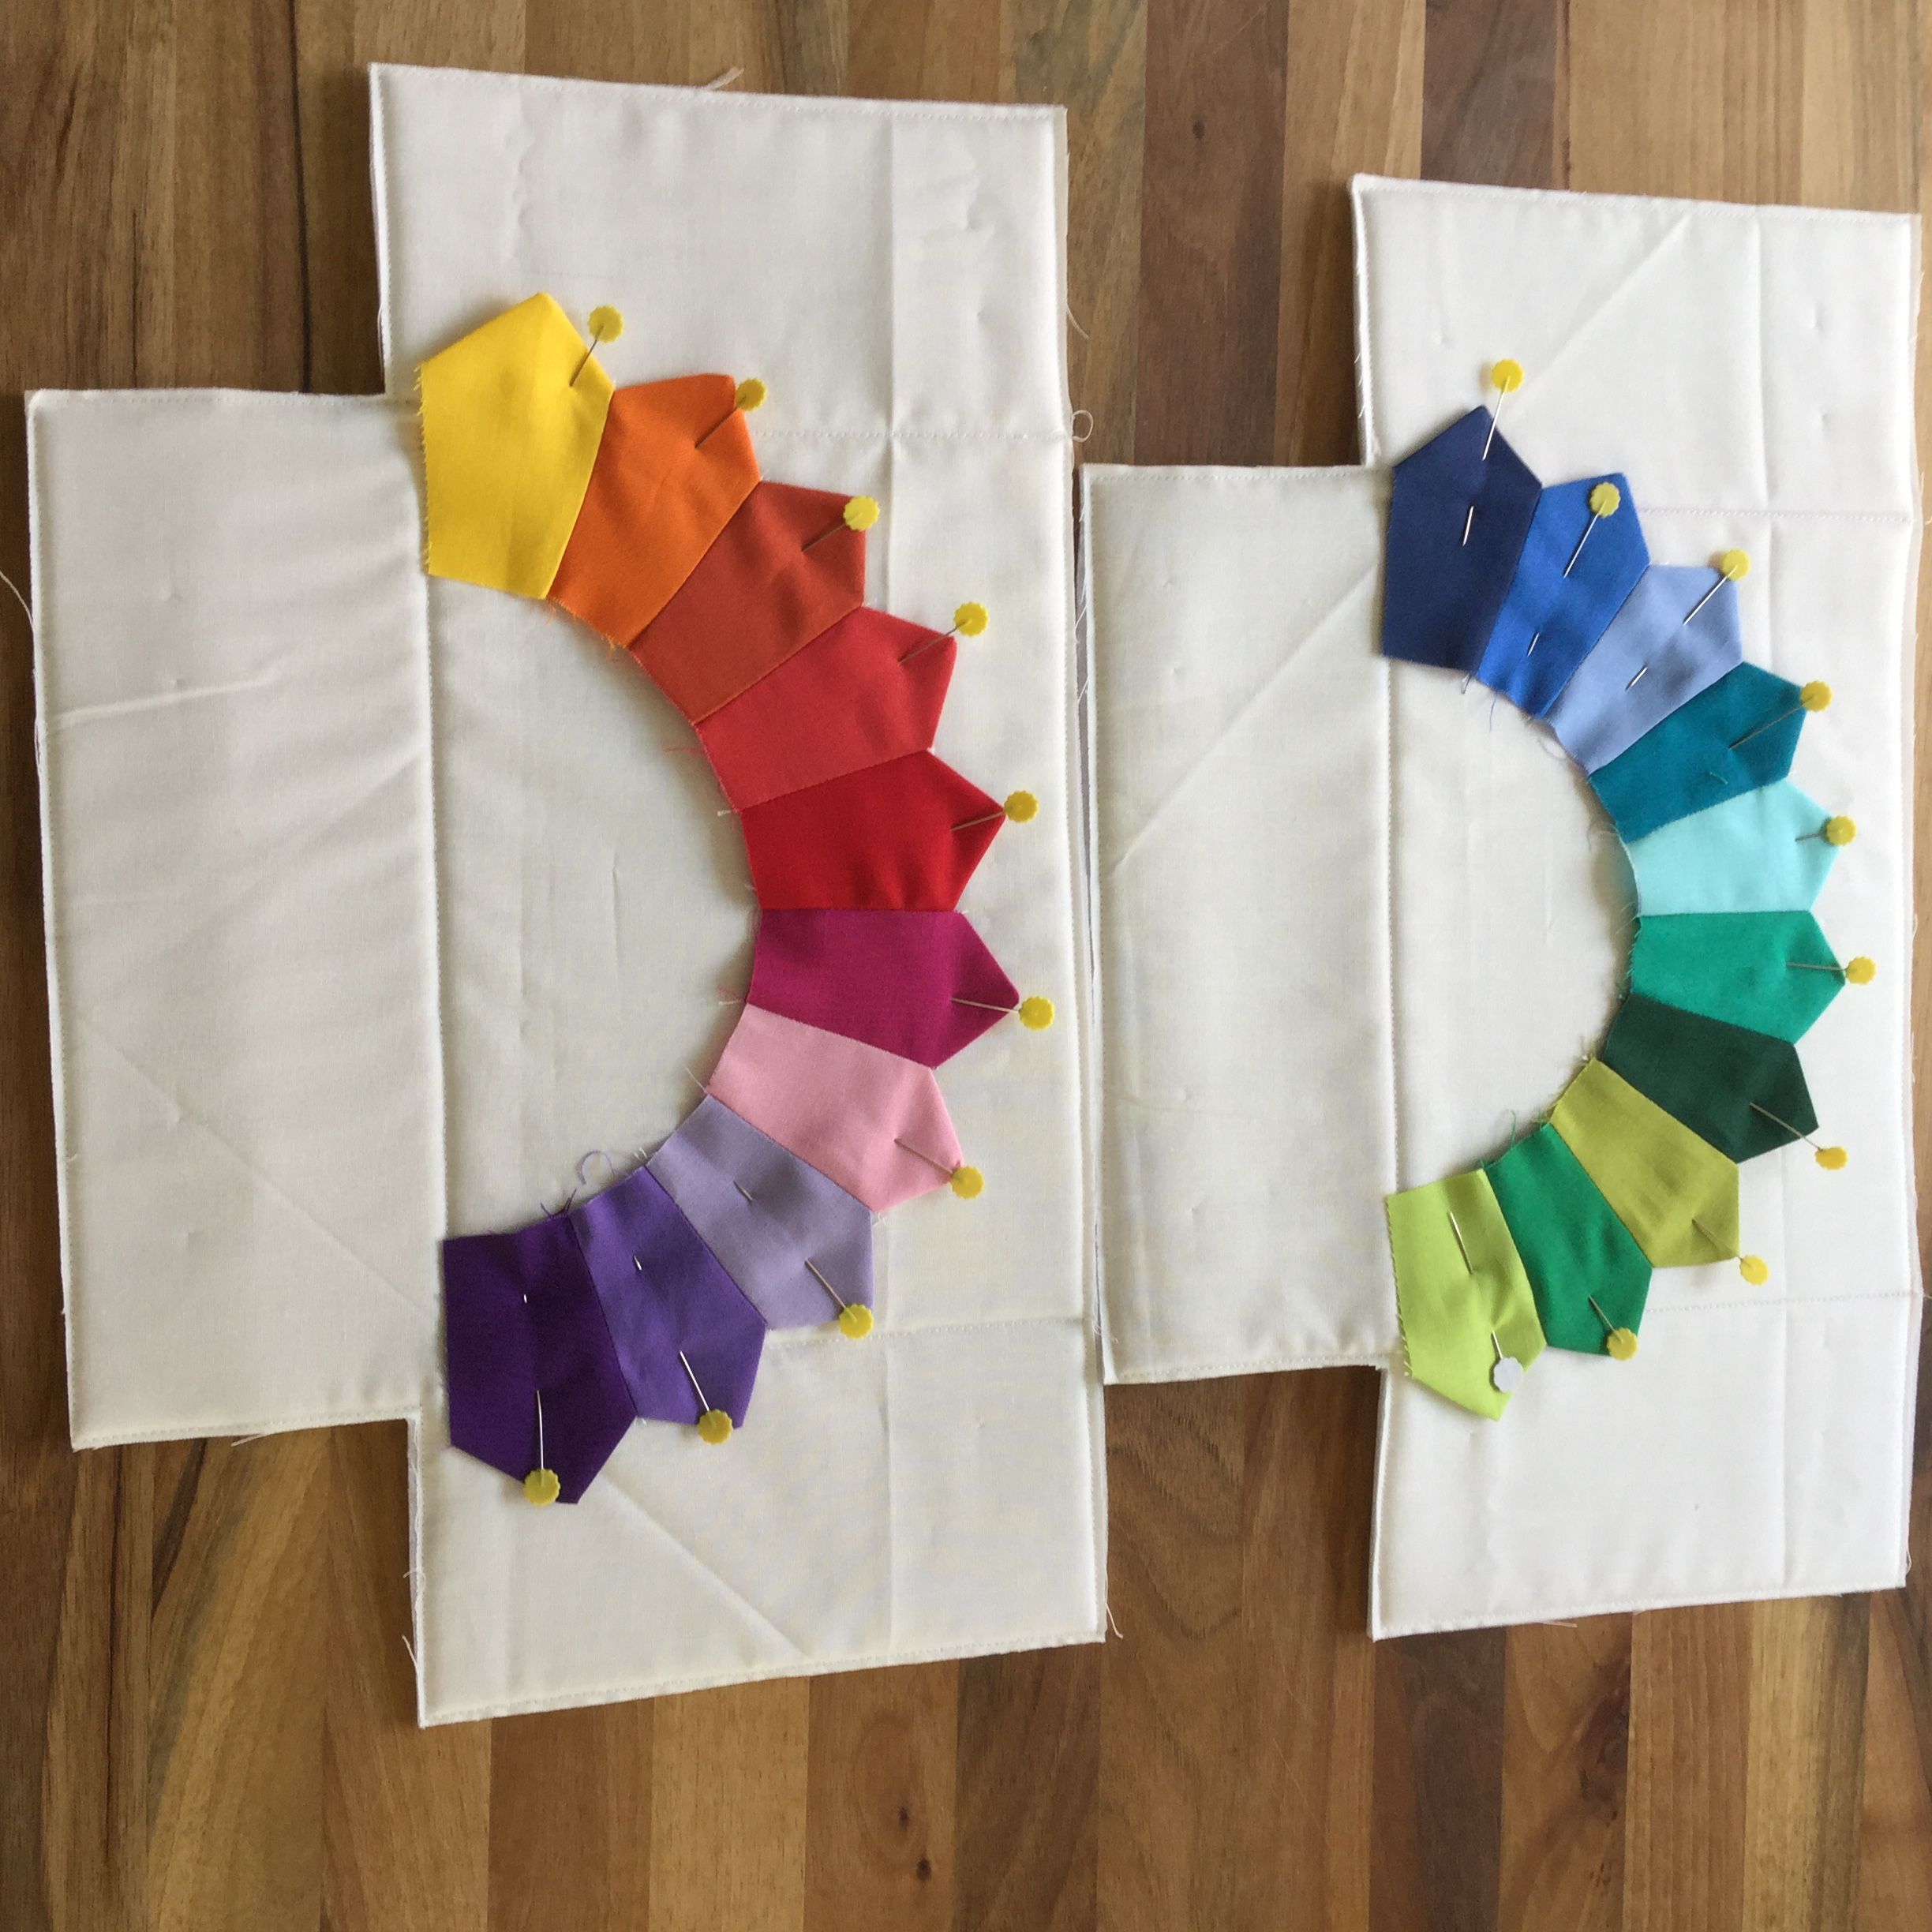
Lay out 10 of those wedges and sew the long sides together with a 1/4″ seam allowance until you have half a Dresden plate, then pin them to your basket pieces as shown below.
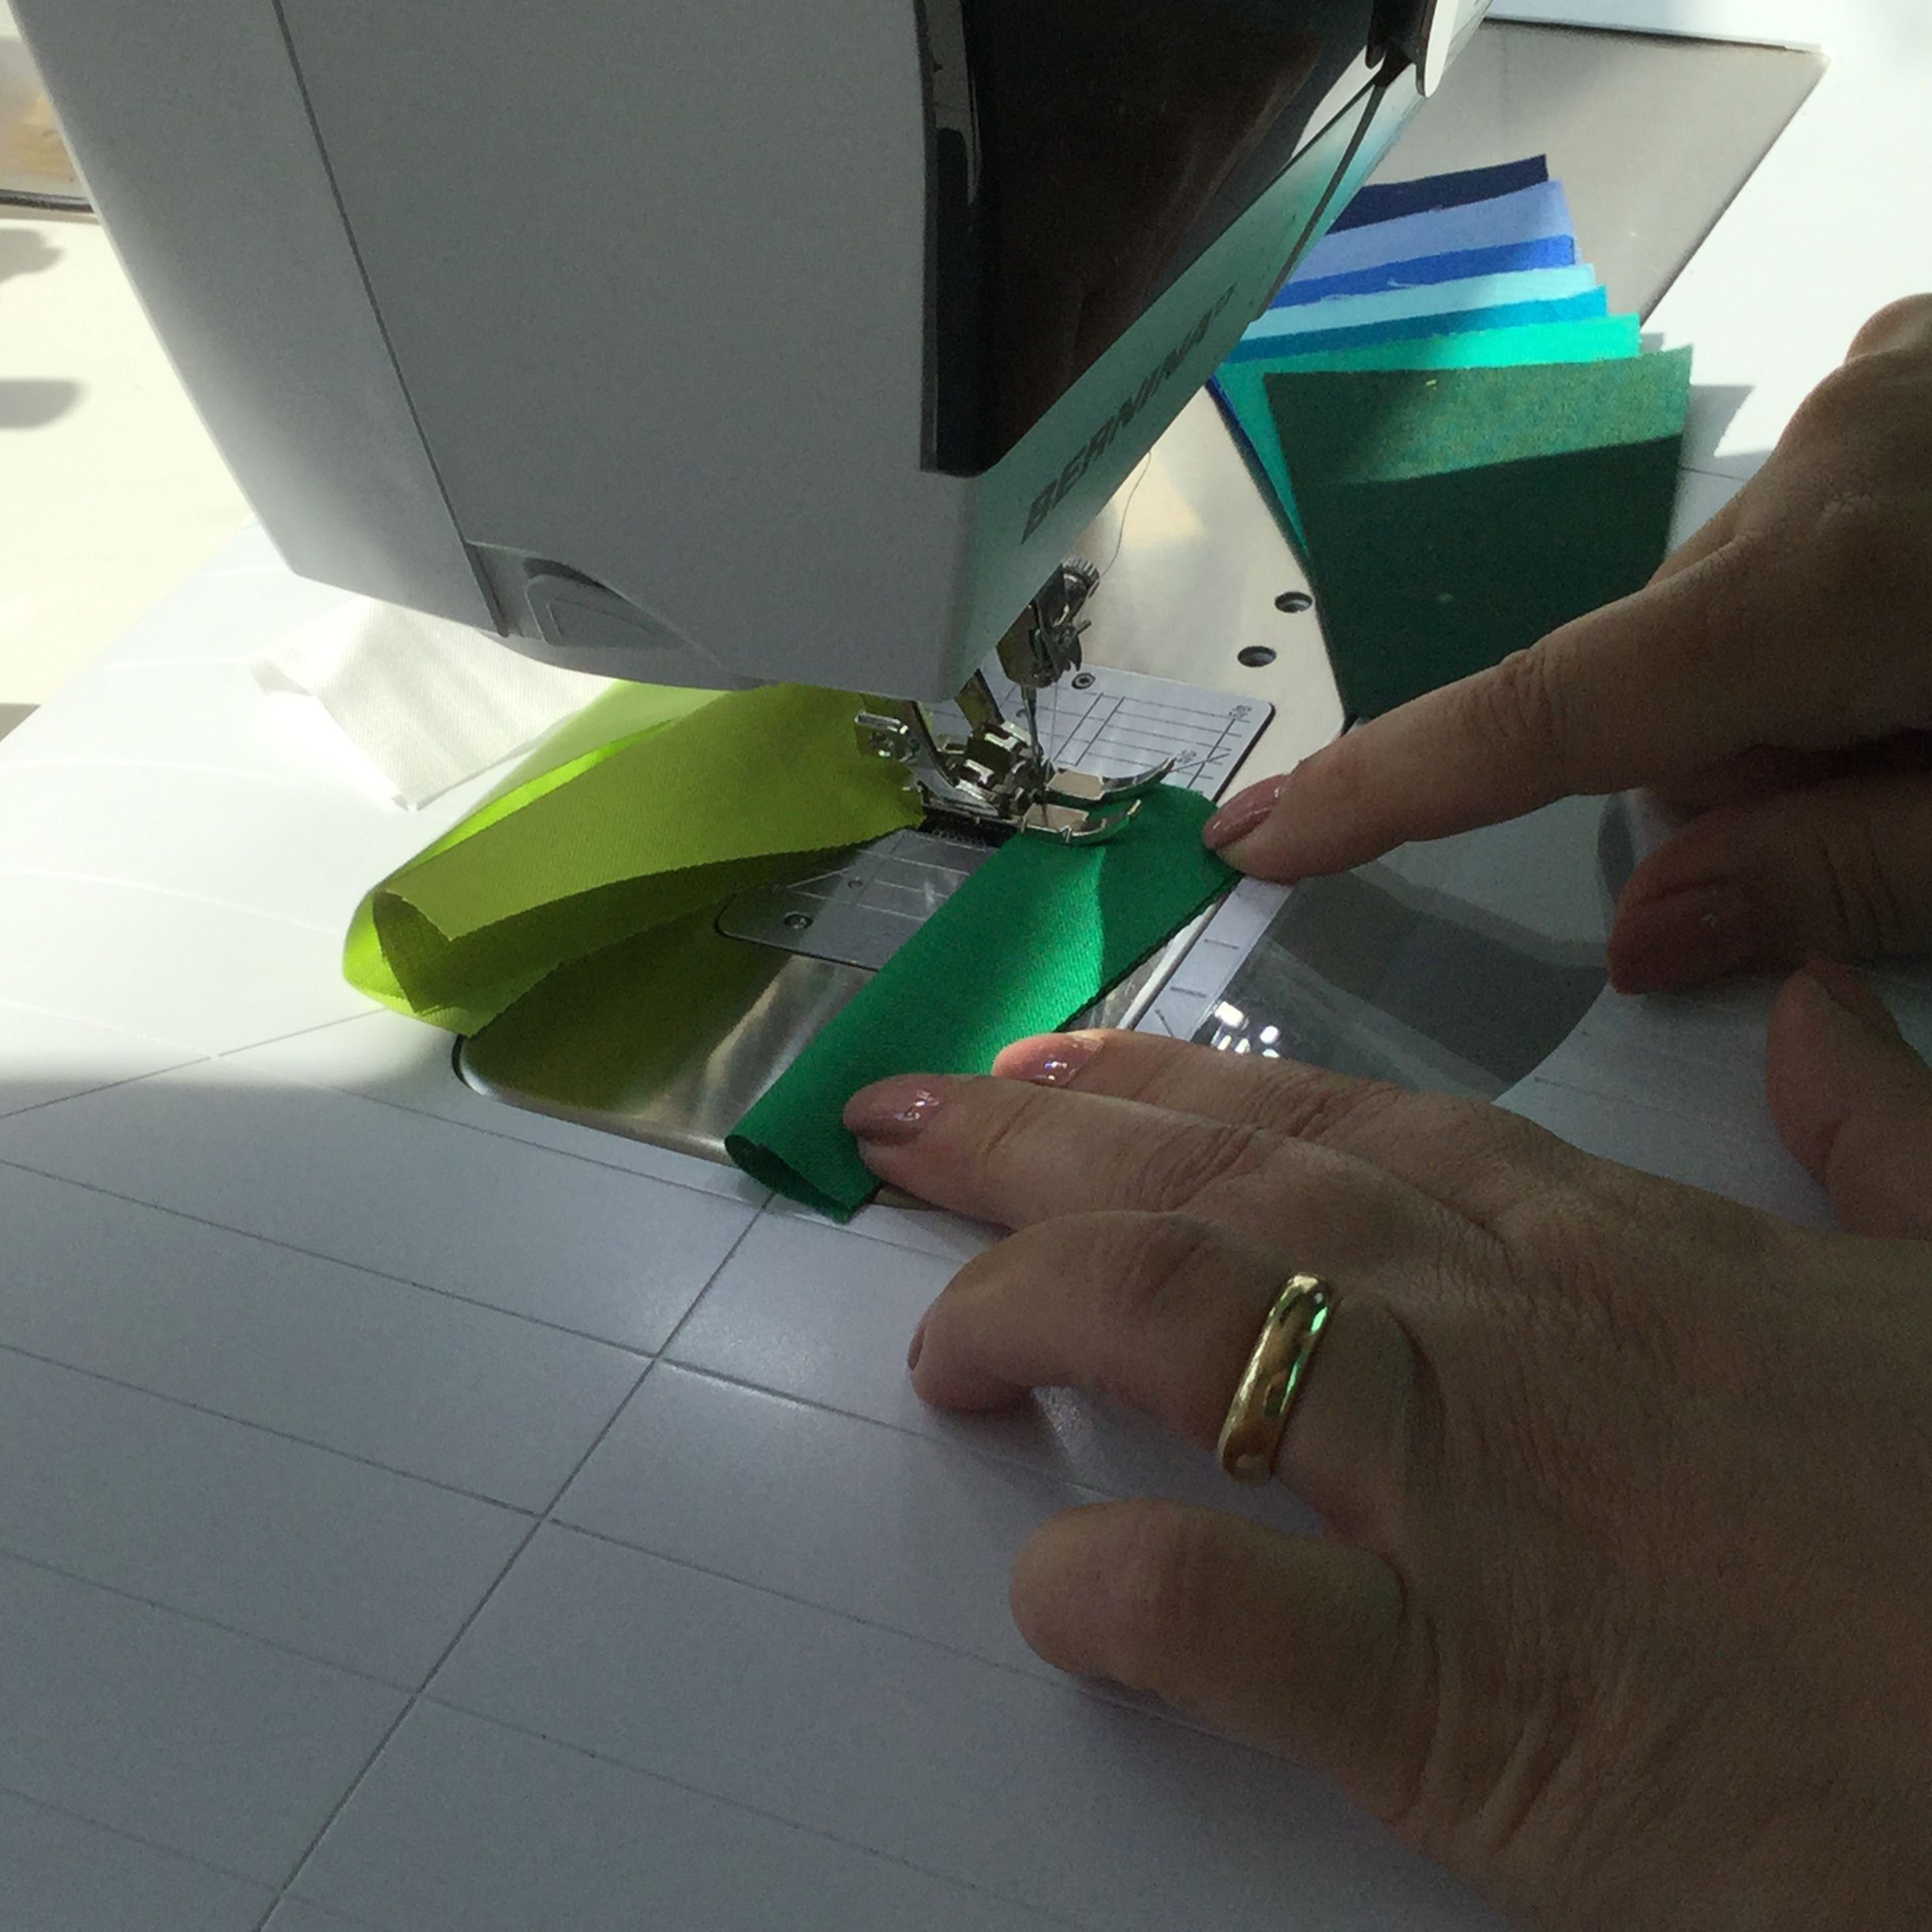
The open edges can now be sewn to your basket pieces with your favorite appliqué stitch or with a tight zig-zag, the upper edges can be stitched on with a 1/8″ distance from the edge.
If you want to add a little quilting, now is the time for that.
Now the two outer basket pieces need to be sewn together, proceed in the same way as you did with the lining, only this time – please use a 1/4″ seam allowance.
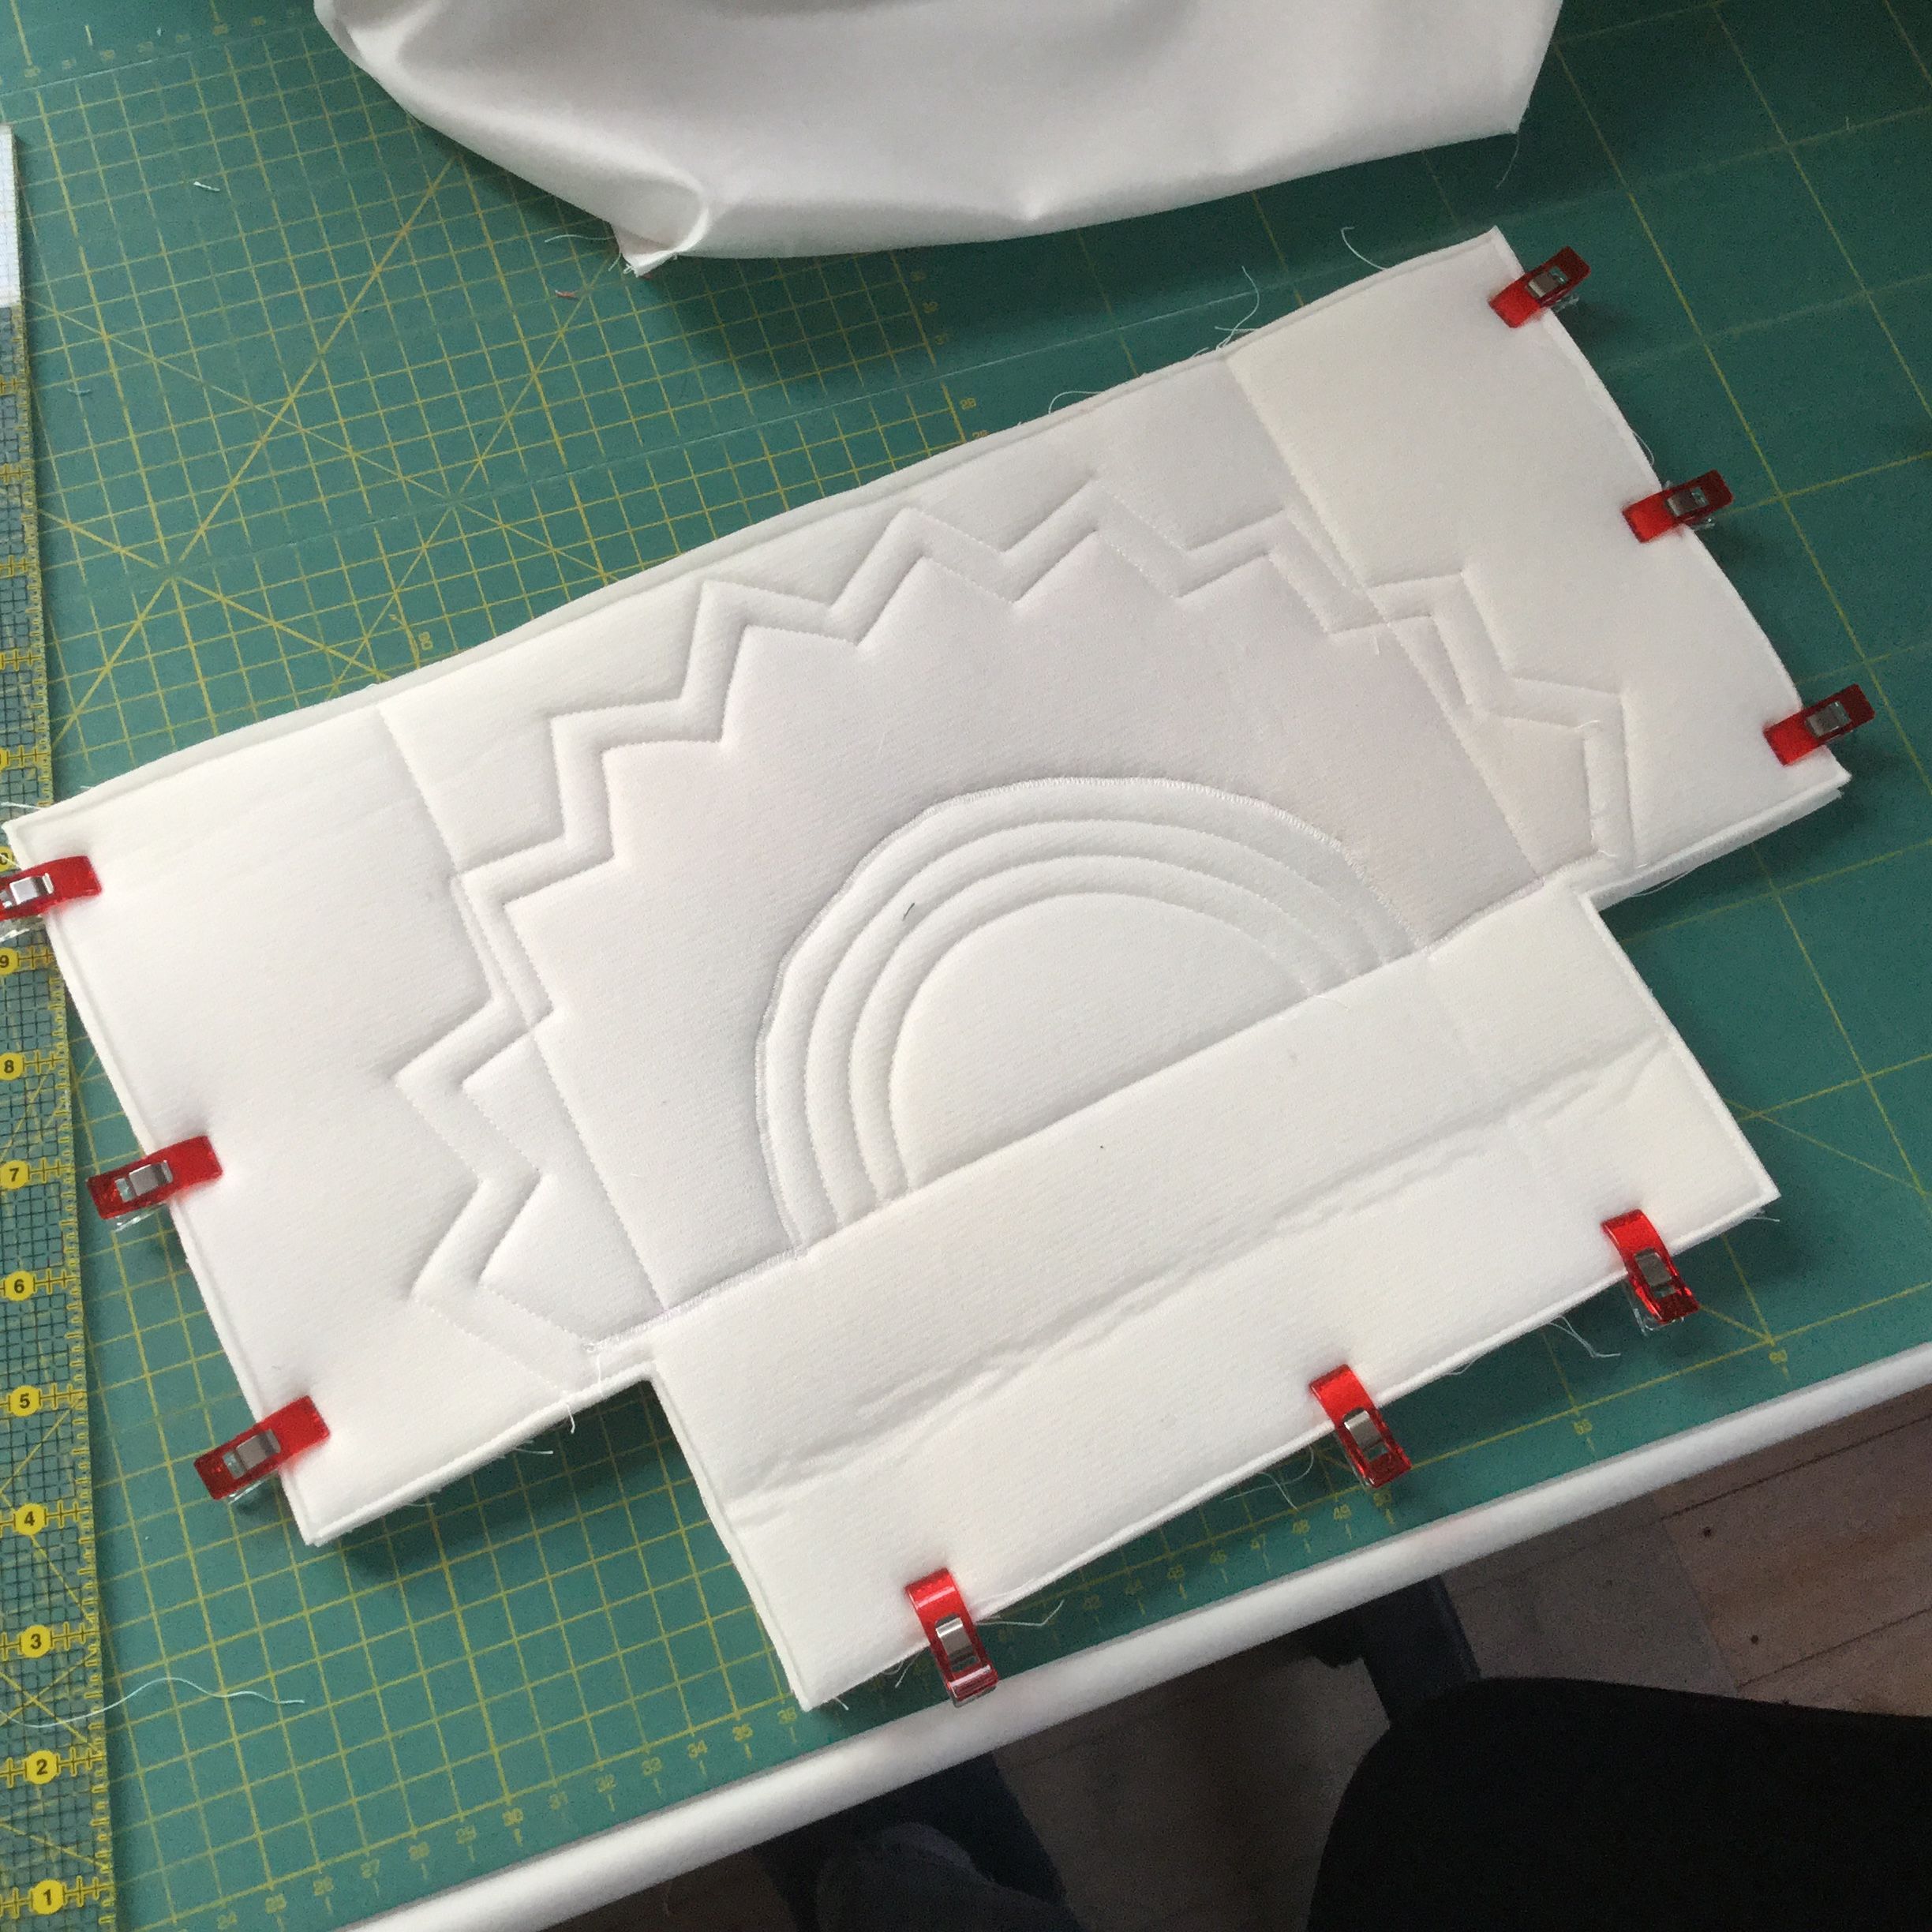
Turn the outer basket right side out, again – the upper edge needs to be turned in 1/2″ – I use wonder clips for that task instead of ironing.
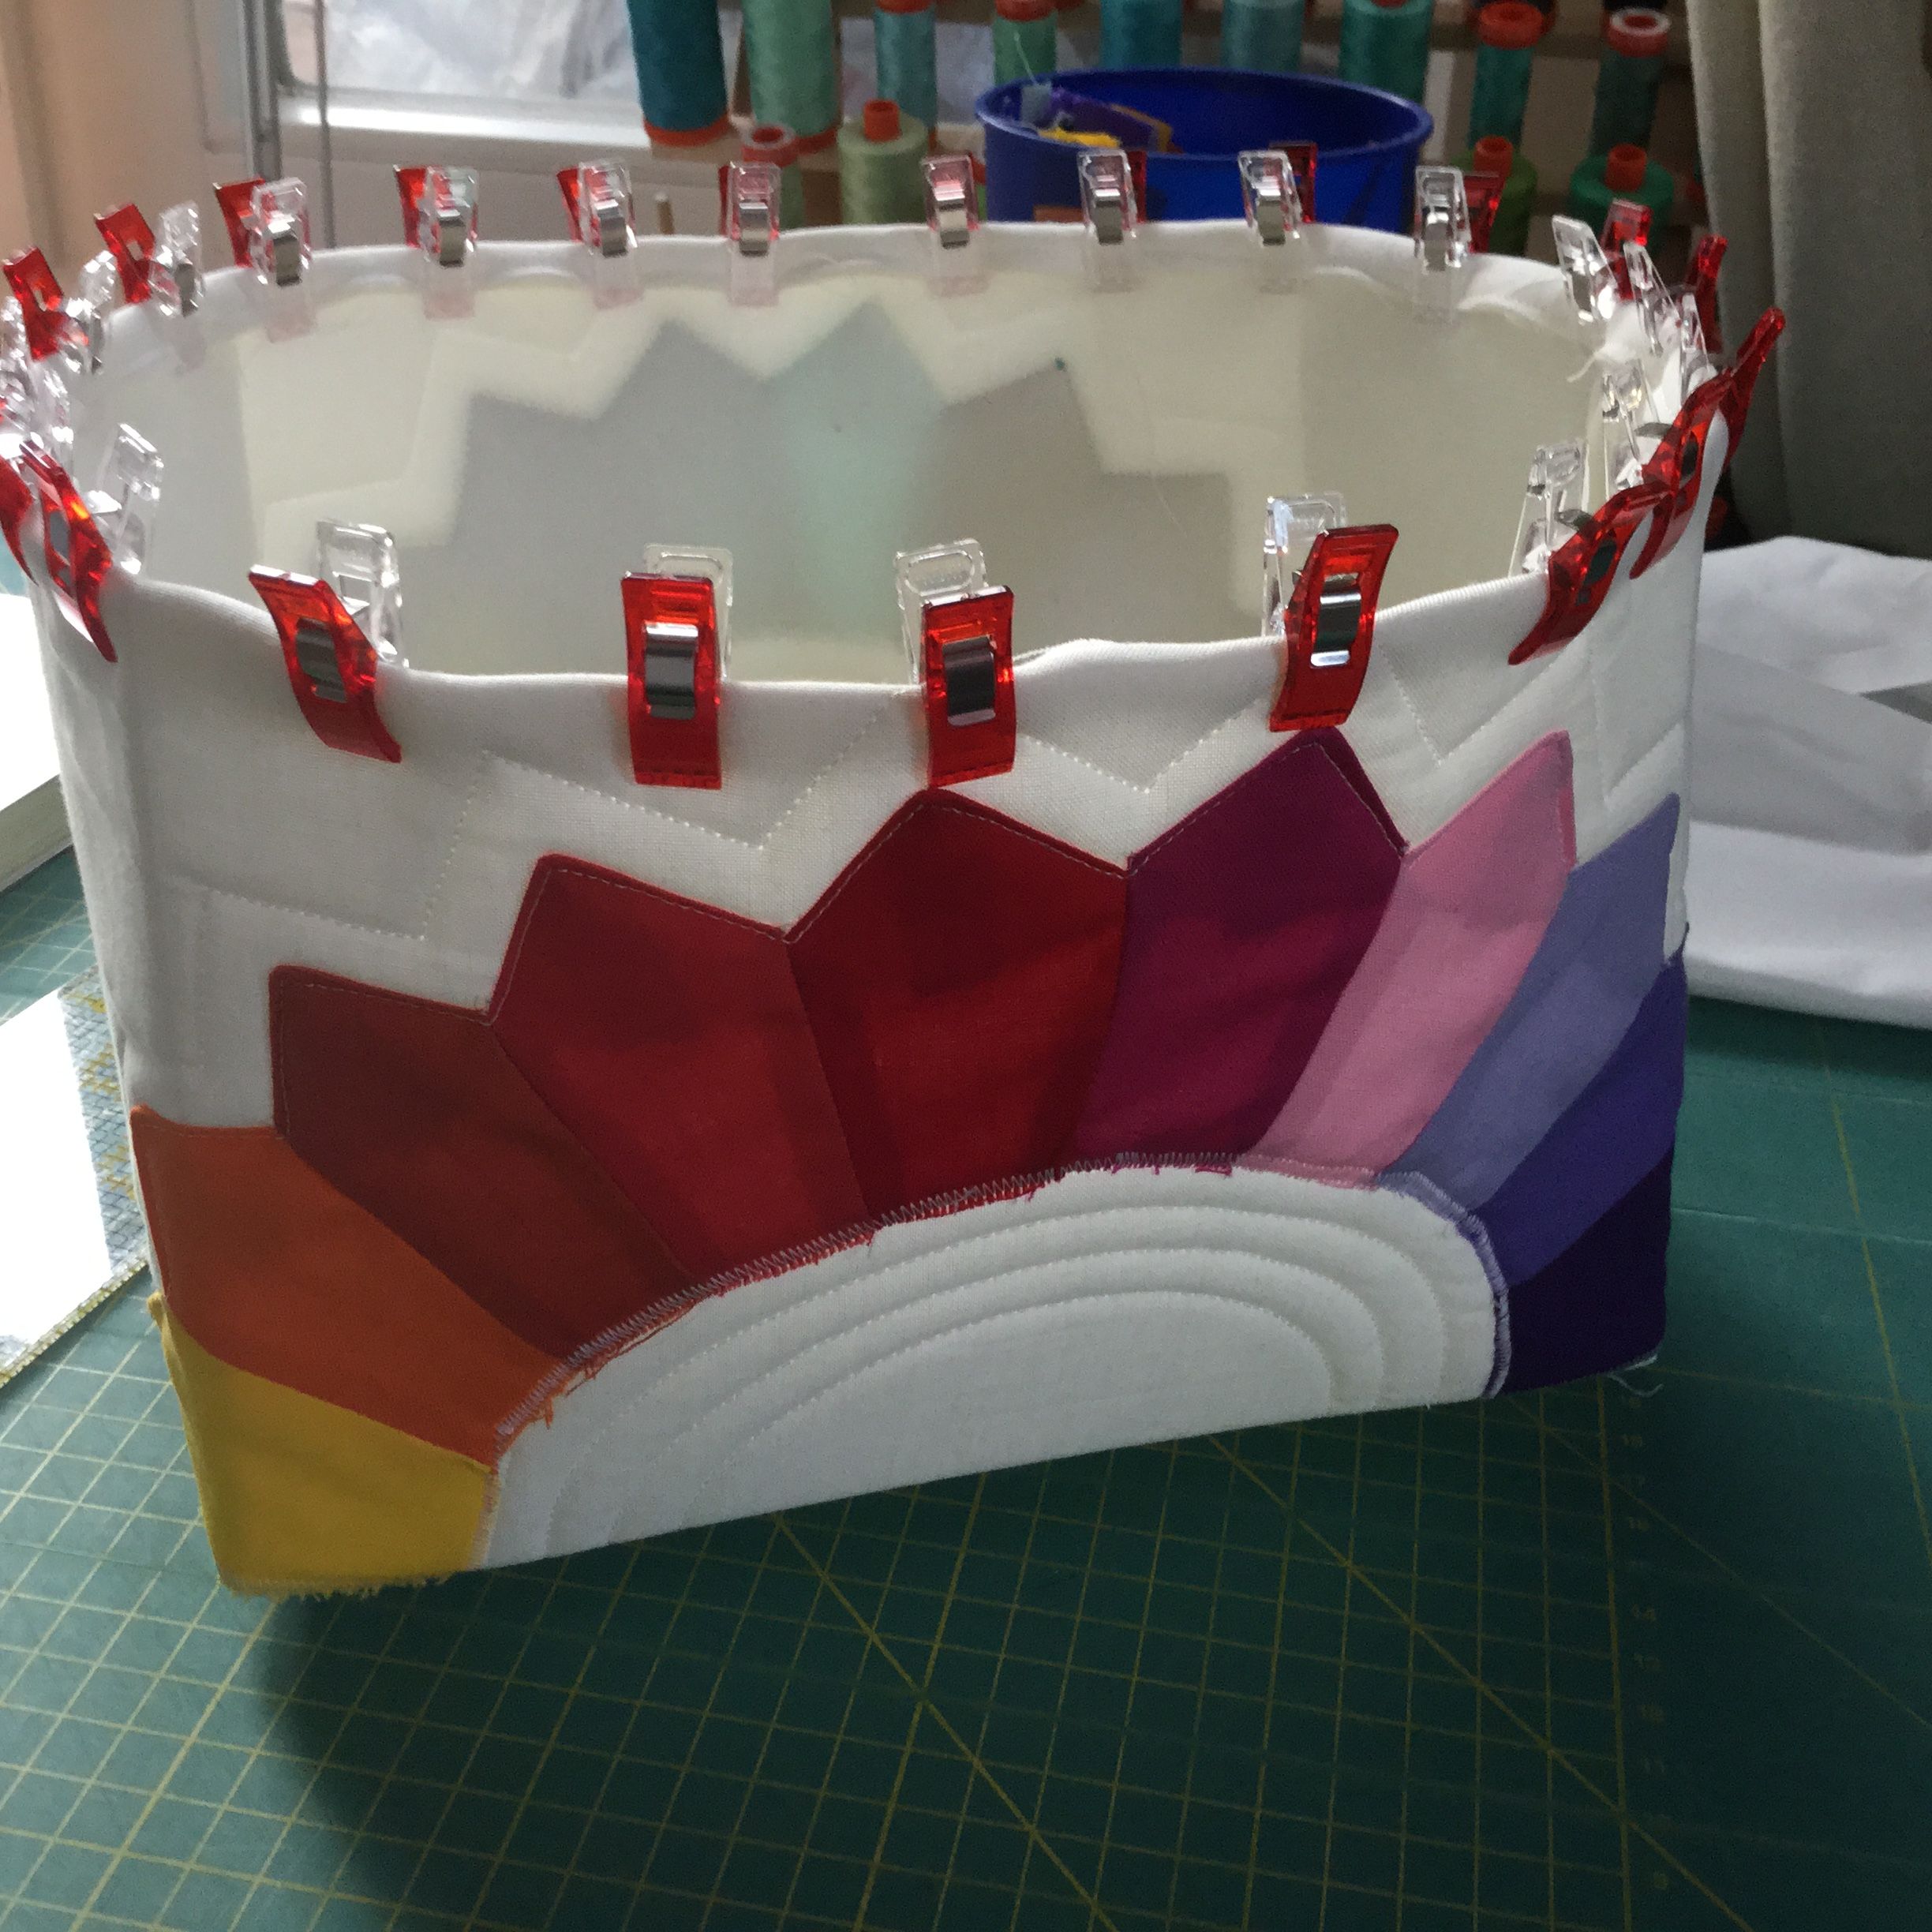
Now place the lining inside the outer basket (left sides facing) and pin the upper edges together. Start at the side seams and pin (or use wonder clips). Stitch with a 1/8″ distance around the upper edge and you are done!


.jpg)


.jpg)


